Tiled Glass Tutorial
So many of you commented on my tiled fire place and asked if it was easy to do. Let me tell you, it was so easy!!!!!
I thought I would post this tutorial for those of you who are interested in tiling at your house!
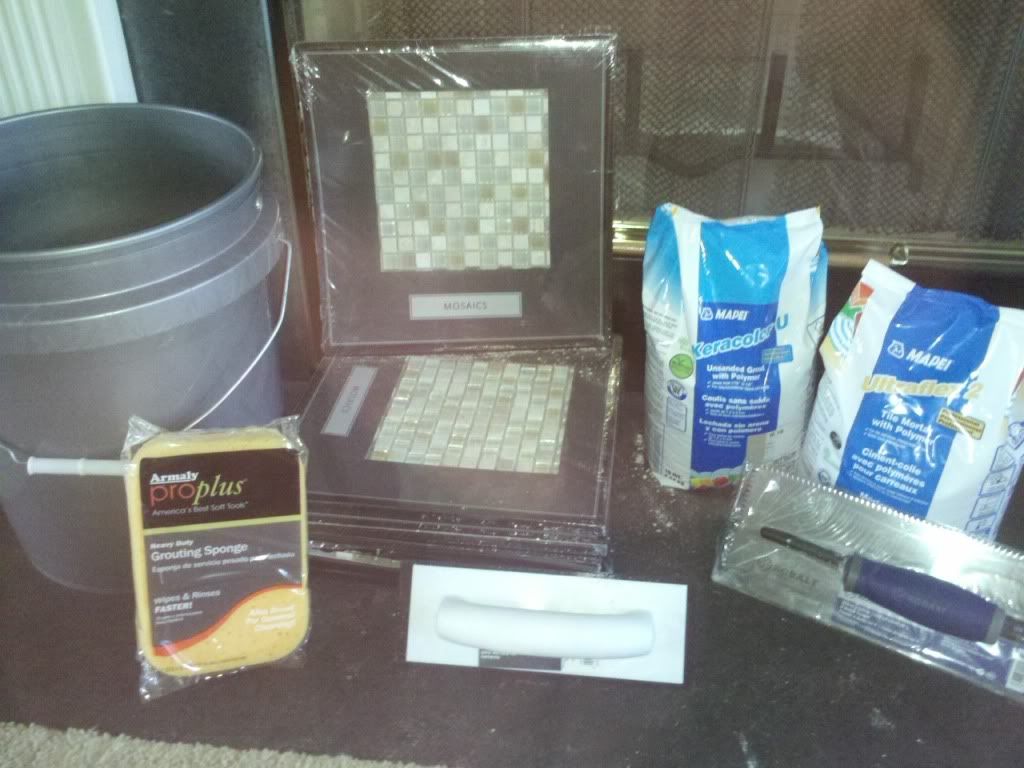
Here is what you need:
glass tiles
trowel
grout float
mortar
ceramic tile adhesive
unsanded grout
bucket
old towels
sponge
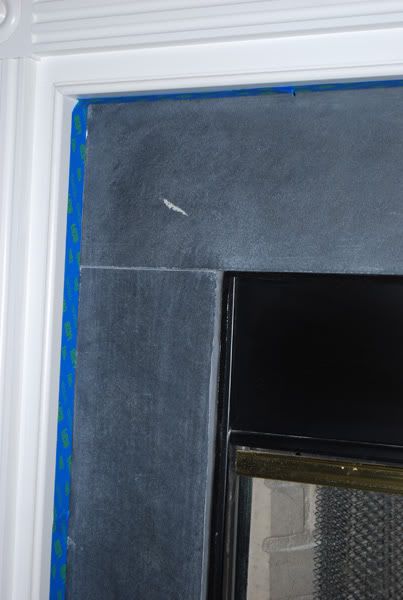
Here is a before shot.....
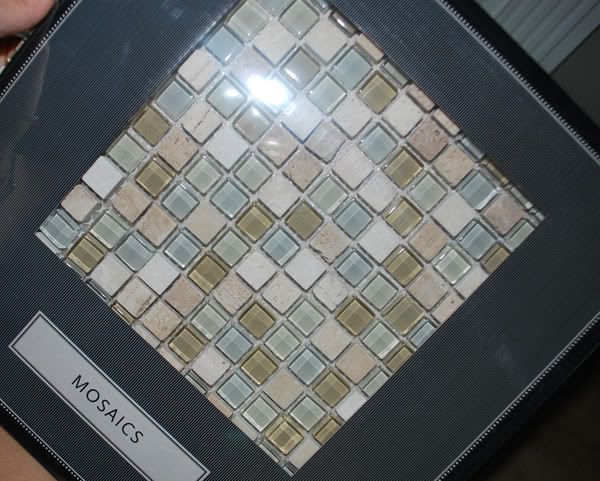
Here is a picture of the tile I used. It comes in 12x12 sheets for about $10 a piece.
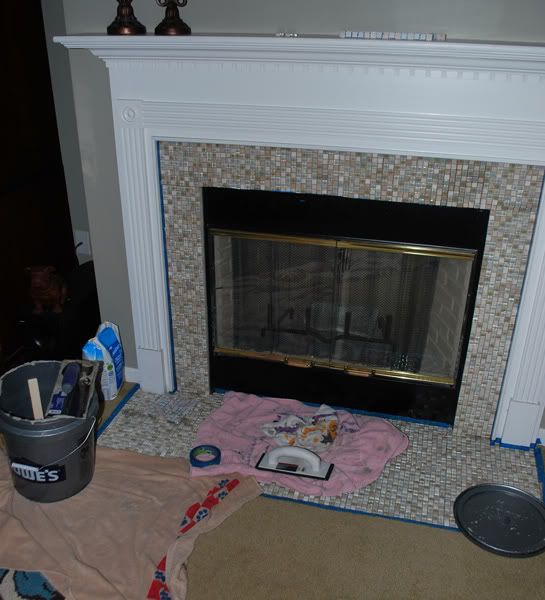
I taped all around the fireplace before I got started.
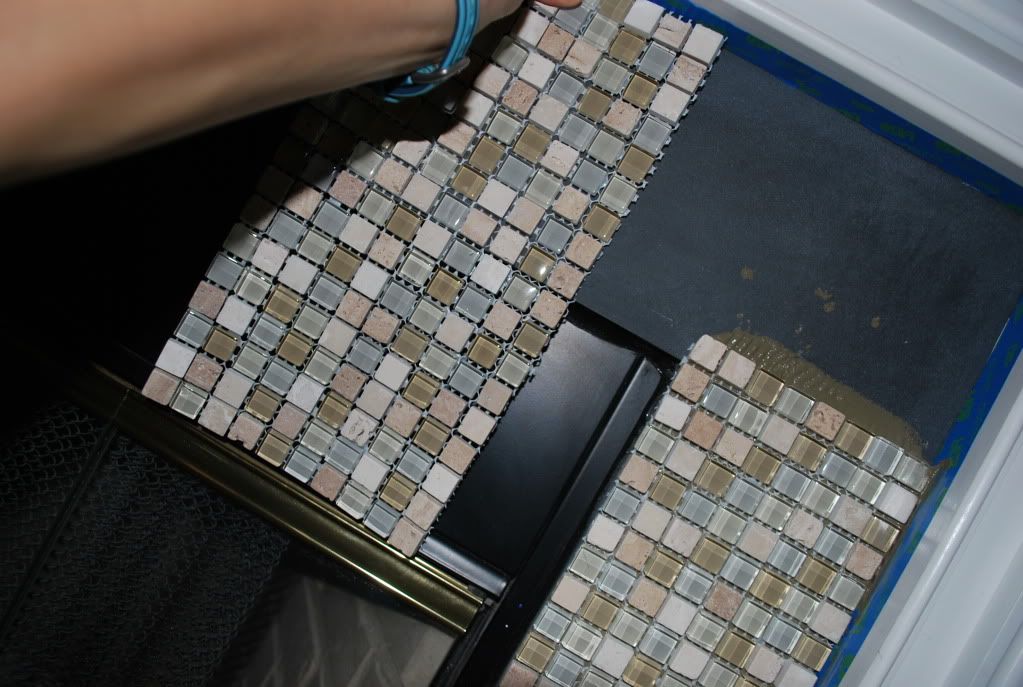
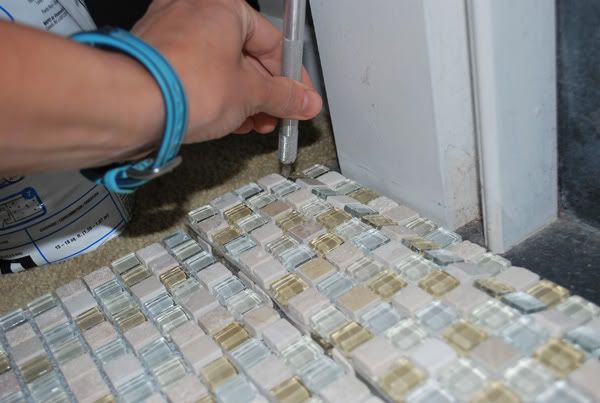
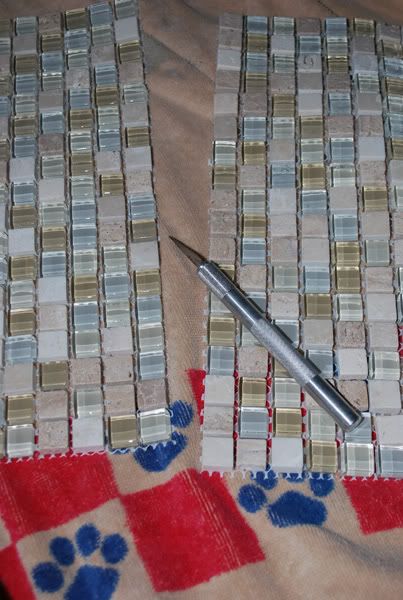
The tile sheets were very easy to work with. I held them up to the fireplace and used an exacto knife to cut the mesh backing the tiles were attached to!
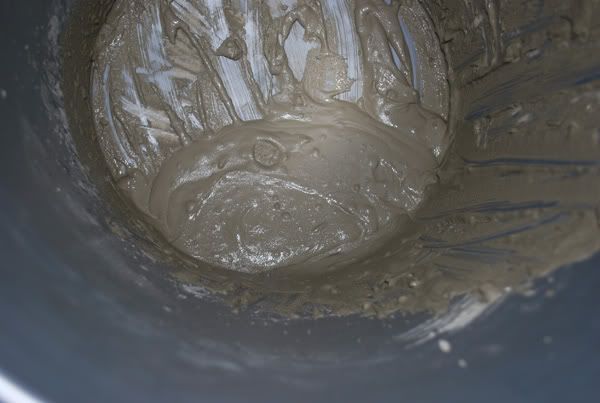
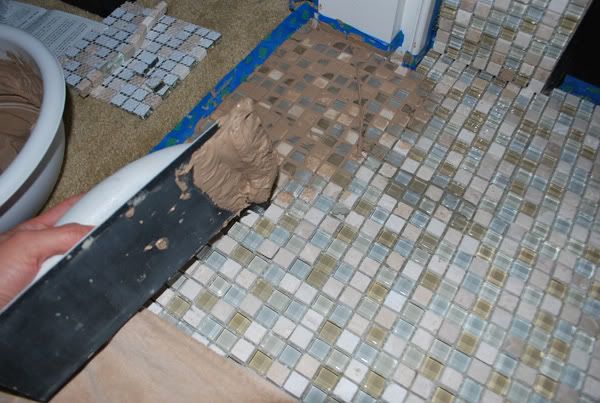
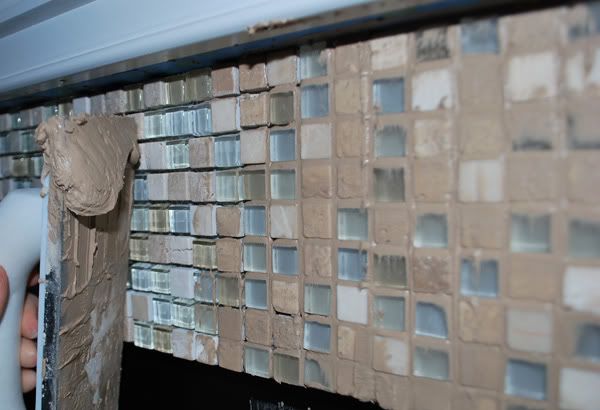
I mixed up the mortar in a bucket and glued the tile down. Use your trowel to apply the mortar. I had to wait 24 hours for the mortar to dry before I grouted.
After the mortar dried, I was able to grout.
***Don't forget to get UNSANDED grout, or it will scratch your tile!***
Wipe the grout on, using your grout float.
Wait about 10-15 minutes, then wipe it off with a damp towel.
You have to wait another 24 hours for the grout to completely dry.
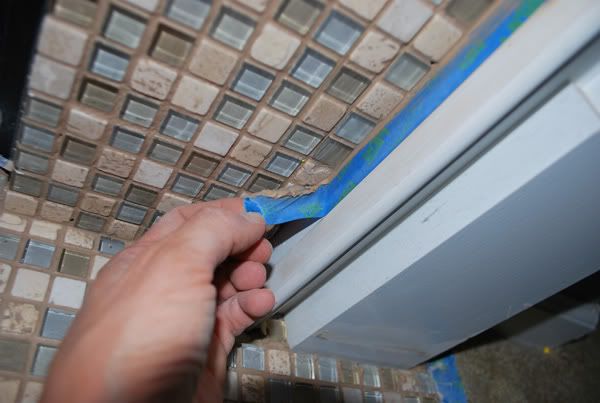
As soon as you get the grout applied you can take the tape off. Don't wait until it dries or you may not be able to get the tape off!
This part is optional....
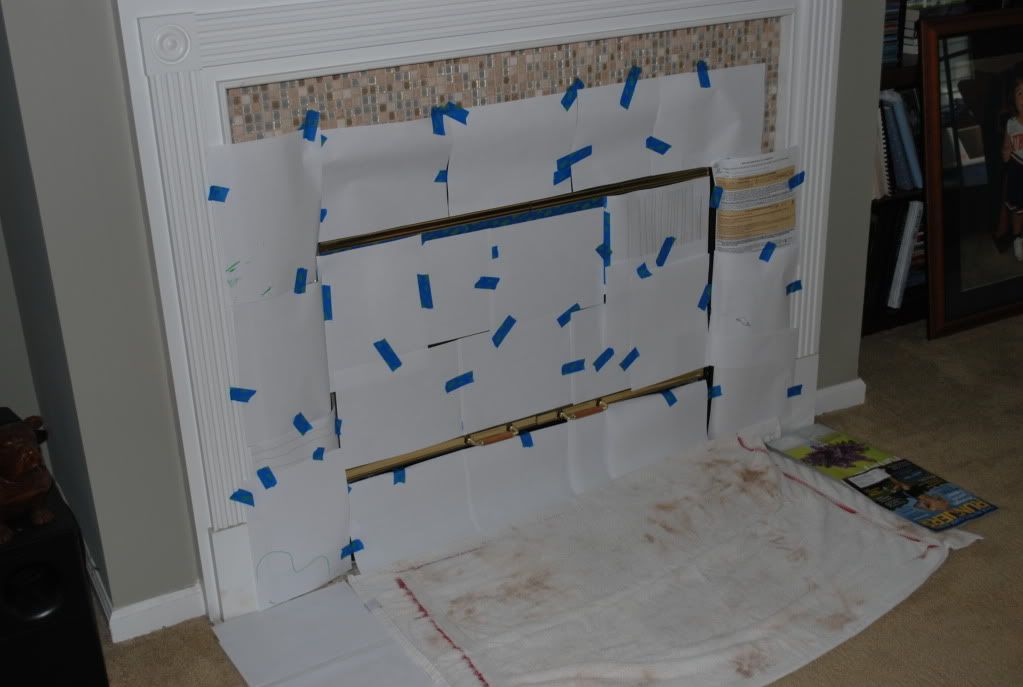
I had brass on my fireplace that I wanted GONE. I couldn't figure out how to take the glass doors off, so I just covered them up with paper and left the brass exposed.
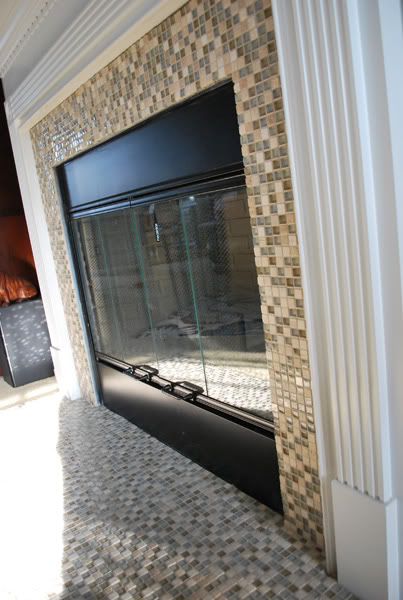
With ORB (oil rubbed bronze) spray paint, I carefully spray painted over the brass.
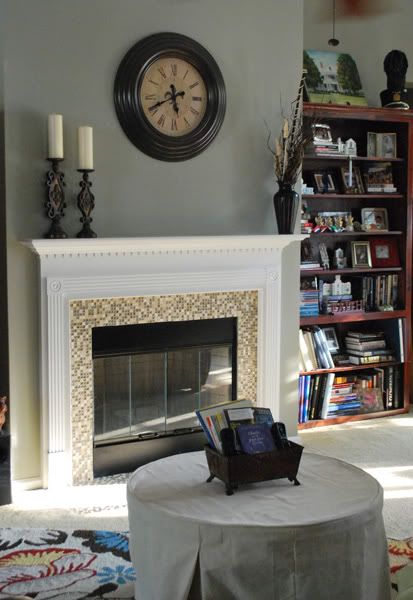
And here is the final result.....
If you have any questions, please feel free to comment or send an email to paigeprice@sc.rr.com


1 comment:
I am so in love with glass tiles right now and intend to use some in an upcoming project. Funny that i came across your post today- it will come in handy when I start mine! Thanks for sharing.
Your fireplace looks so amazingwith the tiles and the ORB, it really made such a huge difference.
kim
tiarasandbowies.blogspot.com
Post a Comment