Deployment Project # 82
TILED FIREPLACE
There wasn't really anything wrong with my fireplace before...other than it was cookie cutter/builder grade fireplace.
Just boring.
I wanted to liven it up a little.
Here is what it looked like before....(this was the only picture I could find, and there happens to be a chair sitting in front of it..sorry)
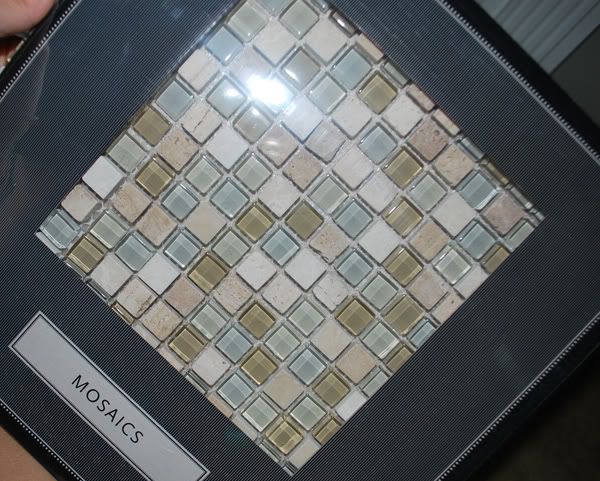
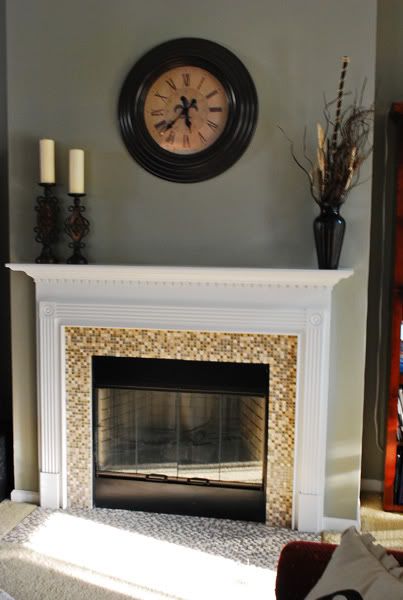
Here is the tile I picked out to use. It comes in 12x12 sheets at Lowe's for about $10 a piece. I think I ended up using 8 sheets for this project.
Putting the tile in was MUCH easier than I thought. I used THIS tutorial as a guide to get me started.
Once I was finished, I still didn't like the out-dated brass on the door.
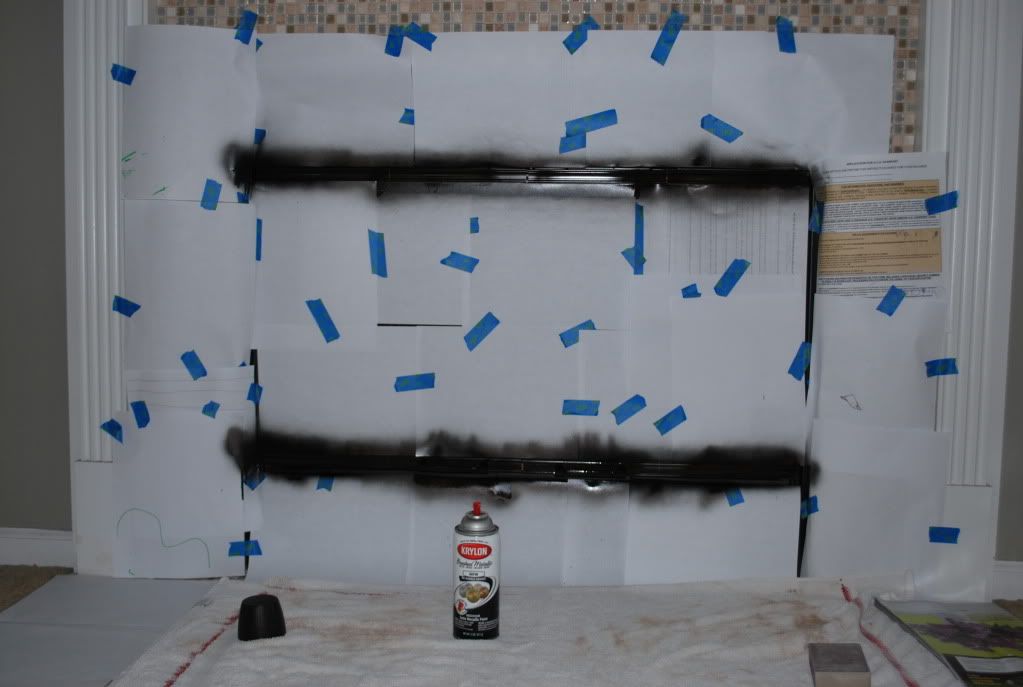
So, I taped all around the fireplace and carefully spray painted the brass!
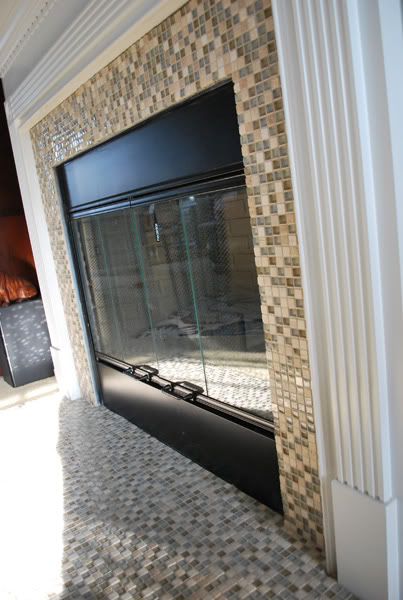
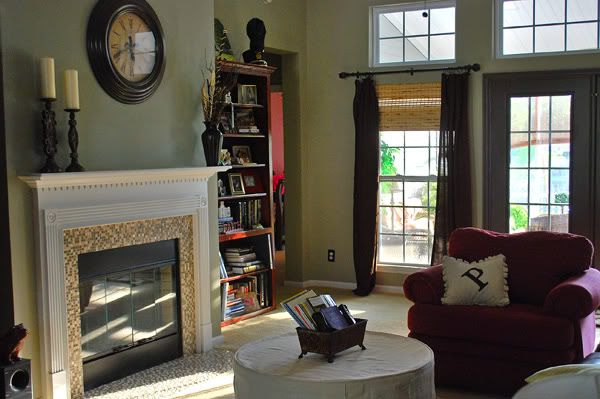
Now I have a "new" fireplace to sit and enjoy!!!!
I love the way the new tile adds character to my living room!
BEFORE
AFTER




21 comments:
Very nice! This is what we are wanting to do with ours as well. I am so glad to see how you painted the brass! Thanks for sharing! Chris
Love it! We're looking at updating our fireplace, too, so this was especially great to read! It's beautiful!
I love it. As usual. Very eye catching.
Very impressive! I've thought about trying this on our fireplace. You've got me hooked! Nice job, very warm and cozy feeling.
~cami
That looks AWESOME! You are amazing Paige Price! Ryan is going to be so proud of all of your hard work! I hope you are saving some things for his honey do list! :)
I just love this renovation!! We are getting ready to add a fireplace and I want to use this mosiac tile pattern as well!! It adds so much to your living room, I agree!
It's amazing what a difference that made! You did a fantastic job. It really took the fireplace from builder basic to something very chic and custom.
That's looks great!
Congrats, this is great waht a terrific job you did and I love those tiles! You just us the idea for my daughter's fire place because it needs to do just it! Thanks for sharing.
FABBY
Wow, what a difference! It looks fantastic! I love the tile, what a great choice! Great job.
I want to do that to mine....but have been skeered ~ I'll check out the tutorial. thx.
Your's looks great :)
that's great. i love your choice in tile. i've been thinking about tiling my fireplace but i'm too scared! good for you, girl!
i am a new reader to your blog and love this project! did you put the new tiles directly on the builder tile?
Fireplaces are one of my favorite things to have in a room. When they don't look like we envision them...then taking action feels so worth it. I did that, only I waited about 18 years to get the courage to paint the brick fireplace. Your fireplace is lovely and the tiles did add beauty and flair. Love it! Thanks for sharing the new look!
Helen
I am getting ready to do this to my fire place as well. I thought I would have to bust off the old tile. Did you have to remove your old tile or did you tile over the old tile?
WHAT IS THE COLOR OF YOUR LIVING ROOM? I LOVE THE GRAY!
I love this look. Our fireplace is in desperate need of an update. Think oak mantle with builder's marble for the surround. Ick. Anyways, I was not able to gain access to the tutorial. Any suggestions?
Thanks!
The fireplace looks excellent? Is there a way which I can be "allowed" to view the tutorial on the blog?
Thanks!
I can't seem to access the tutorial link. What did you use to stick the tiles down with? Help! This looks beautiful!
I so want to do this! Did you put the tile directly on the old tile? How do you think it would look if you did not re tile the hearth area? Thanks!
Post a Comment