Wednesday, February 23, 2011

Deployment Project # 64...Wall of Fame

Deployment Project #64
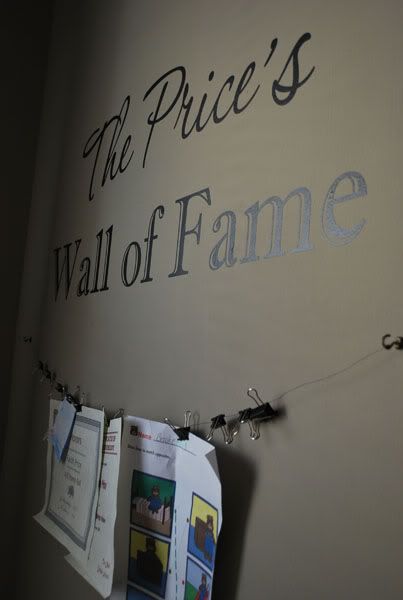
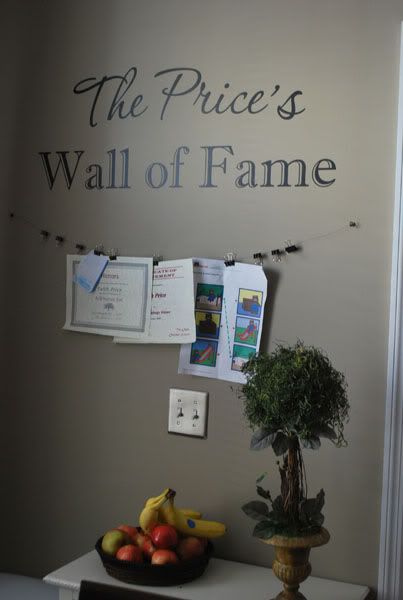
The Price's Wall of Fame

In working on my kitchen re-do, I had this bare wall I needed to do something with...
Photobucket

I never could find any art work that I really liked....

Then I remembered seeing  THIS  fun idea on Random Thoughts of A Super Mom...

Since I have stainless steel appliances, I have no way of hanging up my kids' art work and awards.....

Photobucket

So I worked with Jodi from Back40Life to create a custom wall decal for my wall....(click the red to take you to the link)

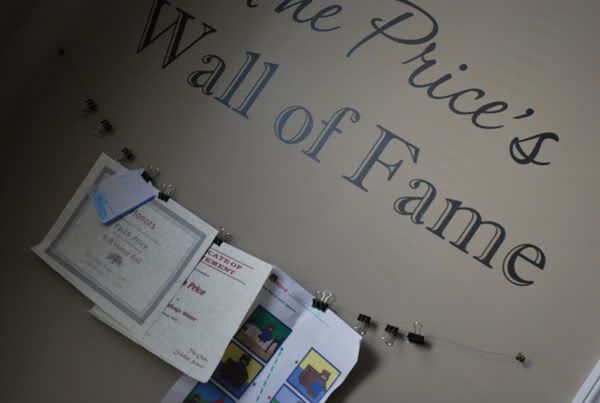
Here is what we came up with...

Photobucket

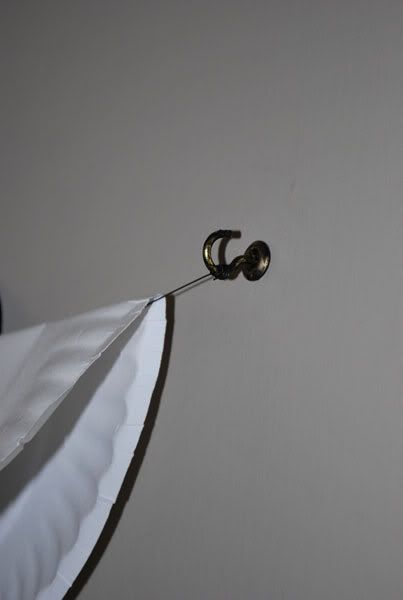
SO SO SO easy to install.....I just used 2 cup hooks and some thin steel wire (purchased from the local hardware store for $3)

Photobucket


Now I am able to hang up whatever I want, and can quickly change it out...

Photobucket


Photobucket

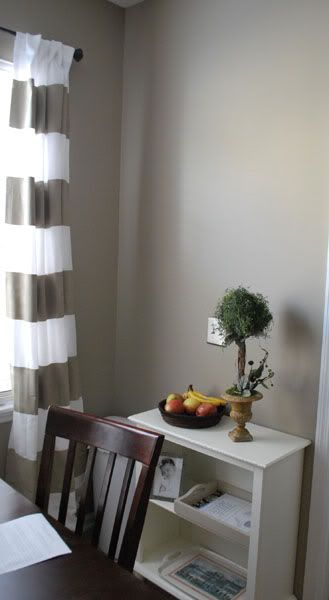
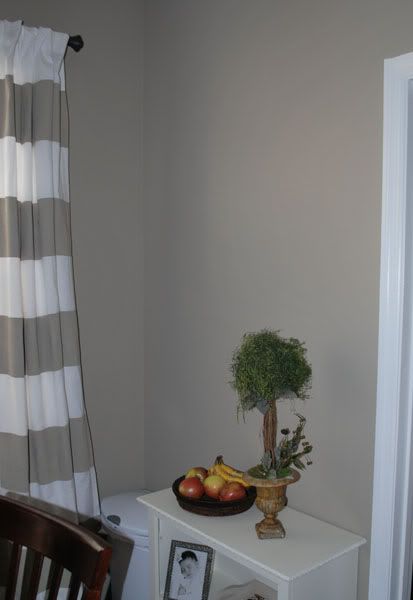
Here is the BEFORE of the blank wall...

Photobucket

..and the AFTER....

Photobucket

My kids are so excited that I can finally hang up their stuff...

and I am too!!!

Happy Wednesday, Everyone!

Thursday, February 17, 2011

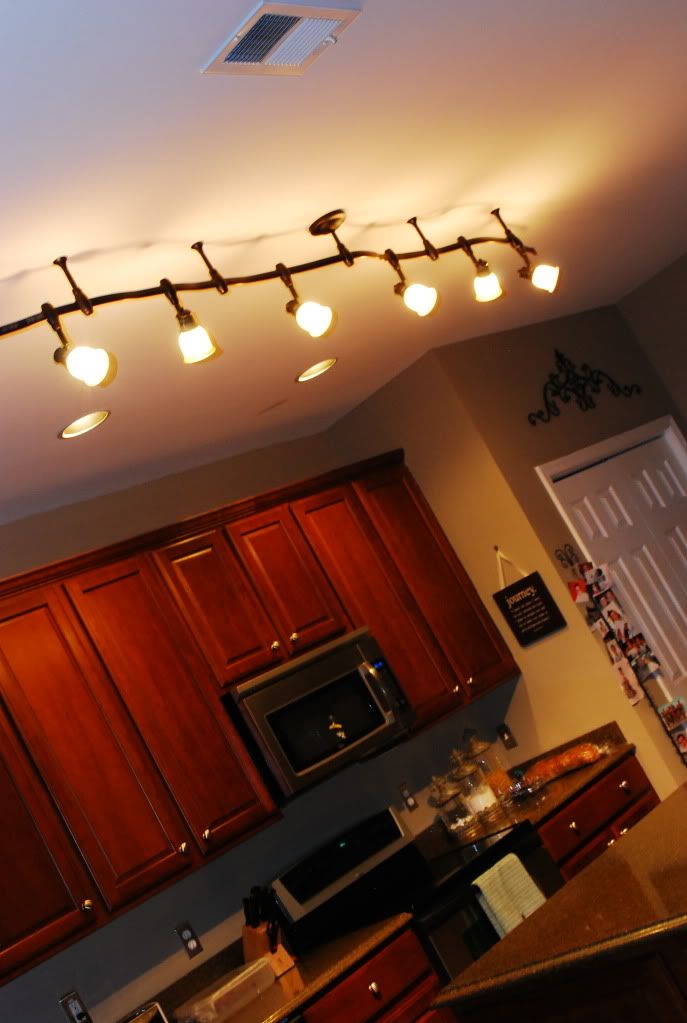
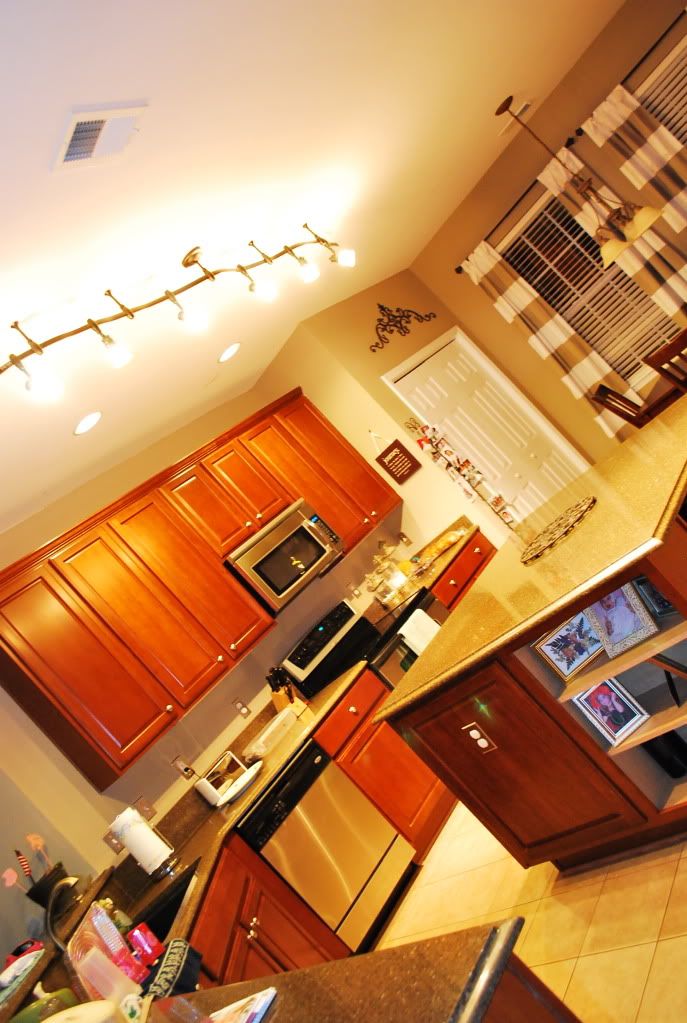
Deployment Project # 63...Track Lighting

I kinda cheated on this deployment project....

I used the DEPLOYED to put it up for me! ha!

My fabulous hubby was just home for his 2 weeks of R & R and while he was home we took on another deployment project....

TRACK LIGHTING!!!

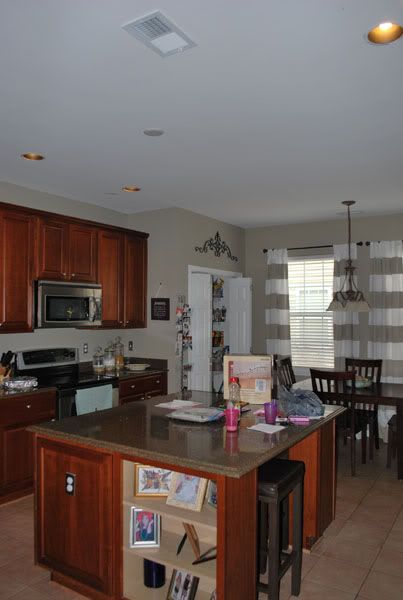
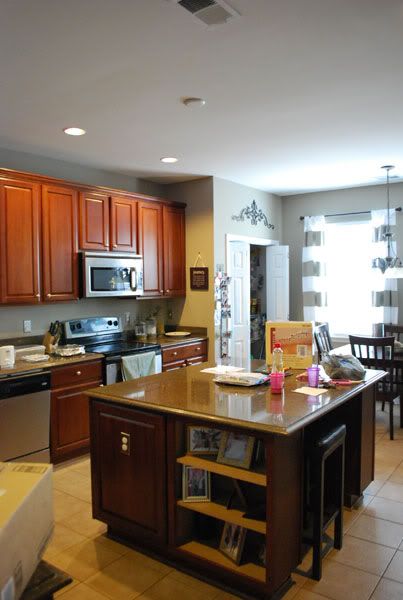
As you can see, here is the BEFORE shot of our kitchen....the lighting was dull....we needed a little more light...
Photobucket
(excuse the stuff on the counter...just keeping it real)  :-)


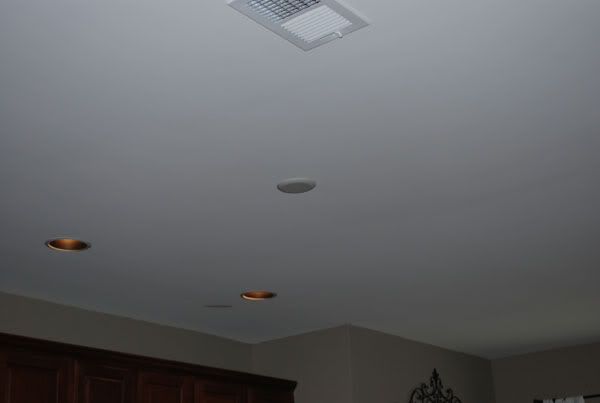
Luckily, the ceiling was already wired for lights or a fan....so half the work was already done for us...
Photobucket


Photobucket

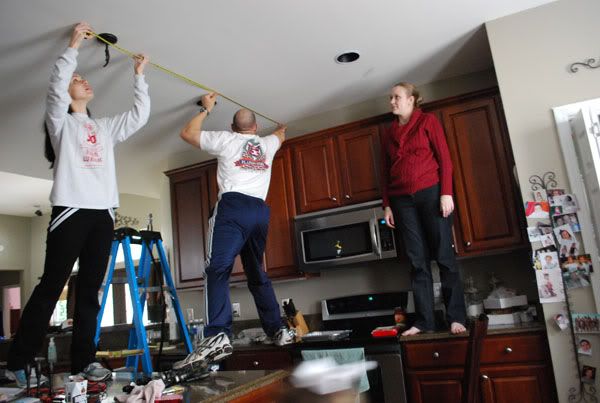
We had to do some measuring first...it "only" took 3 adults to do this 'EASY" installation...
(photos courtesy of my 8 yr old photographer!)
Photobucket

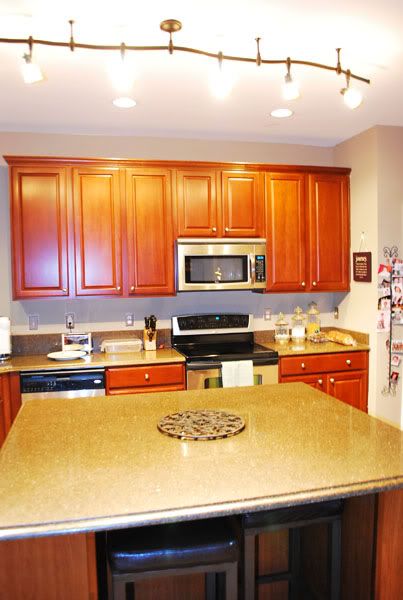
After an hour, we had NEW track lighting!!!
Photobucket

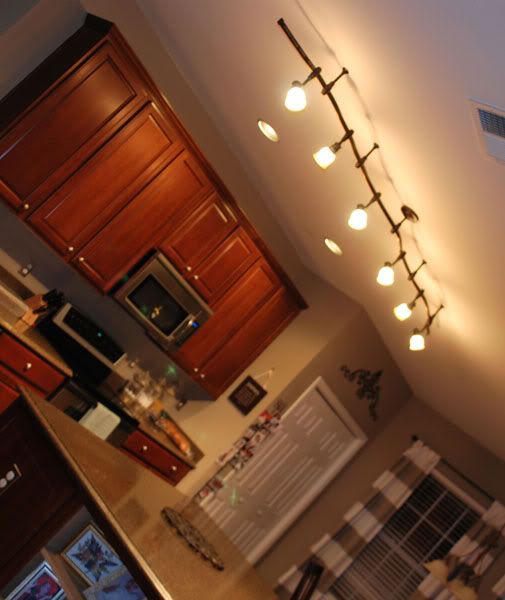
And God said, "LET THERE BE LIGHT"....

...and there was light....

Photobucket

I'd say it definitely brightens up the room!

Photobucket

BEFORE
Photobucket

AFTER
Photobucket

Happy Thursday, friends!

Wednesday, February 16, 2011

Spinach Lasagna Roll-Ups

I'm BACK! 
After 15 days together with the hubby for his R&R from Iraq, we sadly had to take him back to the airport yesterday. Just 20 more weeks until he returns home for good....we started this journey at 60 weeks, so 20 weeks should be a breeze, right?!? (Oh, I sure hope so)

So, while he was home, I tried to make sure he had some home-cooked meals.

I found this recipe for Spinach Lasagna Roll-Ups....They were delicious and EASY to make!!!


Spinach Lasagna Roll-Ups


9 lasagna noodles, cooked
10 oz. frozen spinach
15 oz. ricotta cheese
1/2 c. Parmesan cheese, grated
1 egg
1 tsp. oregano
salt and pepper to taste
32 oz. can tomato sauce
9 Tbs. mozzarella cheese

Cook lasagna noodles in a big pot of boiling water according to package directions. I add a splash of oil so they won't stick together.
Photobucket


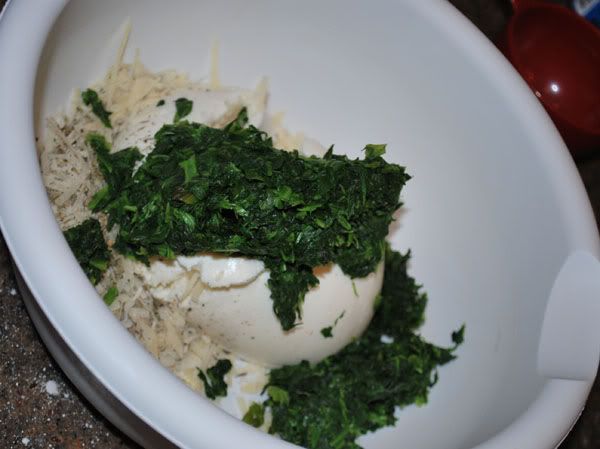
Meanwhile, in a medium sized bowl mix the cheese, egg and seasonings together. Thaw spinach and press out all of the liquid then add to your cheese mixture.
Photobucket


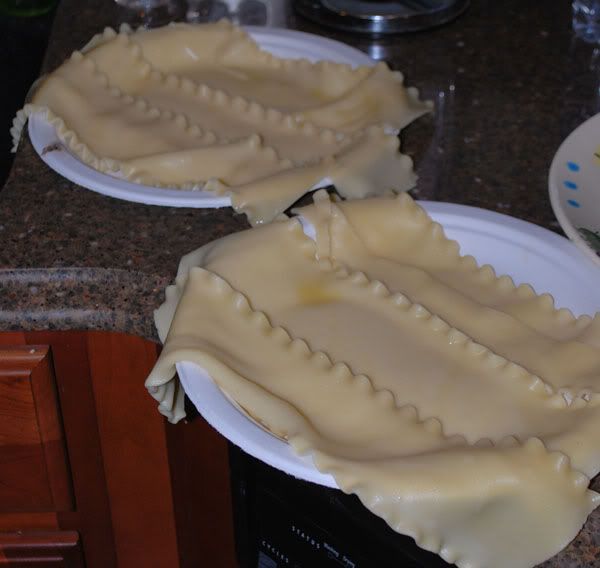
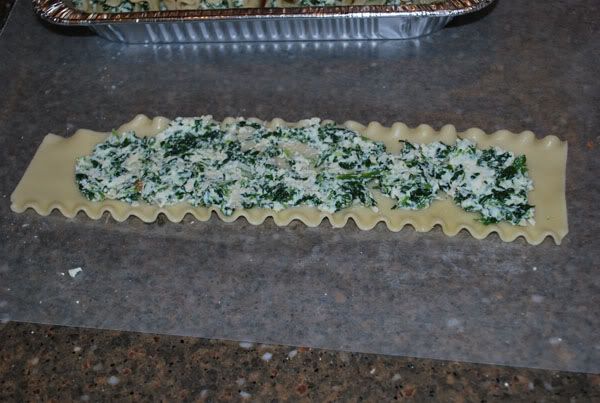
When noodles are done lay them out on parchment paper and pat dry with a towel. Scoop out approximately 1/3 c. spinach-cheese mixture and spread onto noodles covering completely.
Photobucket


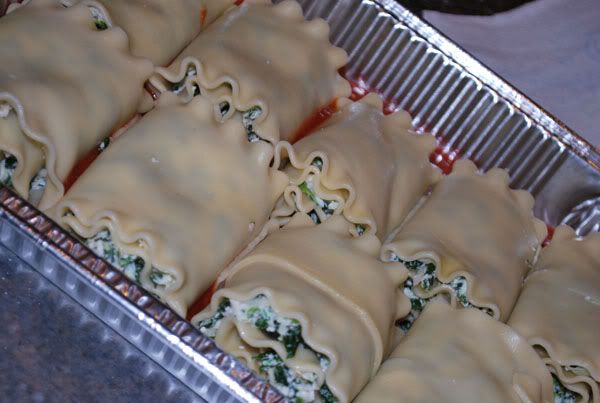
Prepare a 9x12 baking dish by ladling 1 c. tomato sauce into bottom of dish. Roll up the filled noodles and place seam side down into the dish.
Photobucket


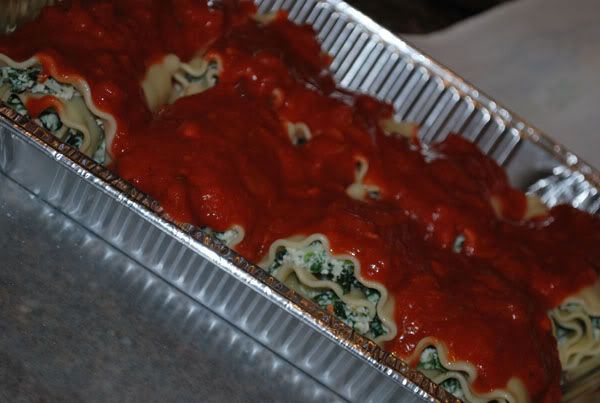
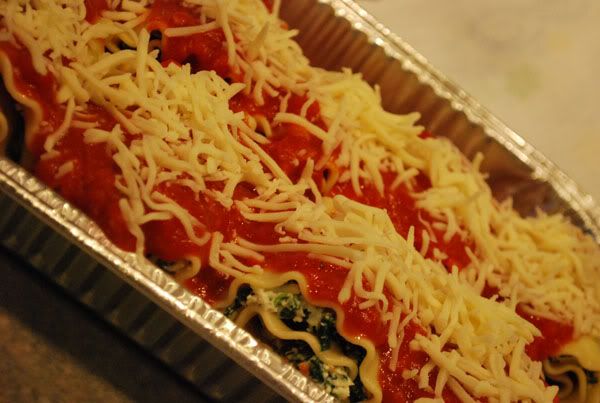
Ladle tomato sauce over roll-ups and top with mozzarella cheese. I used about 1 Tbs. cheese per roll-up.
Photobucket


Bake at 350 for about 45 minutes. Until cheese is melted and your kitchen is infused with a delicious aroma.
Photobucket


Top with fresh basil.
 HAPPY EATING!!!!

Tuesday, February 8, 2011

Valentine's Day IDEA! (repost)

Some of my friends have asked about the Valentine's Day project I did last year, so I thought I would repost it!! These were such a hit last year!!!  I may even make them again this year!!!!


I sooooooo meant to get this posted BEFORE Valentine's Day so you could use this idea if you wanted, but I'm so scatterbrained at times and forgot but with 4 million other things going on last week, I wasn't able to.....sooooooo

Instead of being LATE for Valentine's Day this year, I like to think of it as being VERY early for Valentine's Day NEXT year...

Okay???......

I found these on another blog.... I read so many of them, I can't seem to find where I came across this idea....if I can find it, I will definitely link to it. I can't take credit for these....

But, oh, how cute they turned out!!!

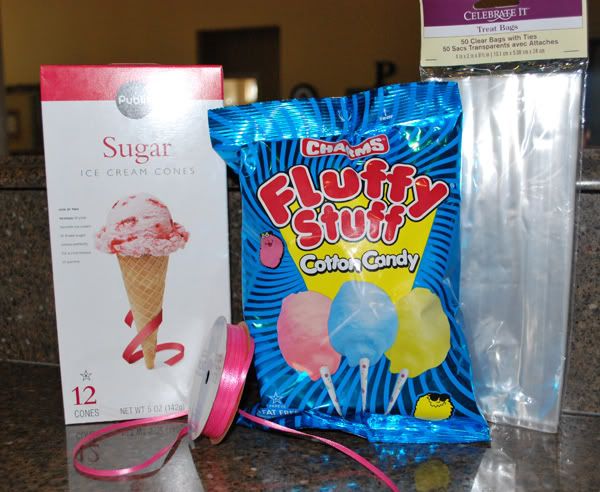
Here's all you need...
Photobucket


(The Cotton Candy came from the Dollar Tree....one bag makes about 5-6 cones)

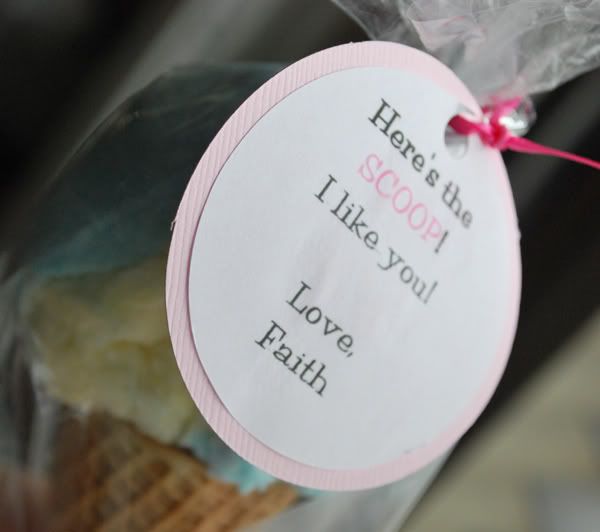
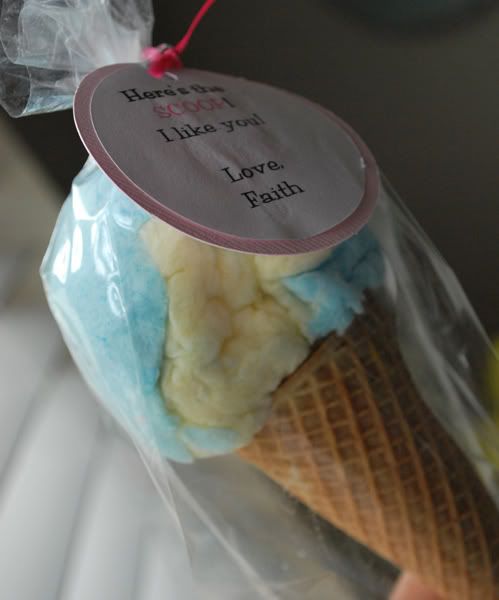
Just take a handful of cotton candy, stuff it in a cone, put it in a clear baggie, tie it up, and attach a cute little saying....


I just typed up the little sayings on my computer, printed them out and used my Creative Memories circular cutter to cut them out...but you don't have to have one of these cutters...scissors will work just fine! 
Photobucket


Photobucket


Photobucket


There you go! So easy!!! Now, just remember this idea for the next 363 days and you will be set for Valentine's Day next year!!  :)