
Sooo, the nursery is finished....
...or maybe I should say, it's as finished as it's going to be.
Because....
I'm now almost 37 weeks pregnant.
I'm big. I'm awkward.
I can't see my feet.
I have no energy.
I can't remember the last time I had a full night's sleep.
I can't bend over.
I can't sit.
I can't stand.
I waddle.
I can't even vacuum my house without stopping 3 times.
I'm up to 456 bathroom trips in a 24 hour period.
I've had enough of this magical special time. Really. Thank you.
And this is the same girl who logged over 850 miles running last year. Yes, it's the same girl. Now I can't seem to even go grocery shopping without feeling wiped out.
I'm finally at the point of "What I haven't gotten around to doing, I will do when this kid is 18..or whenever I have time."
So, I have decided the nursery is finished, whether I want it to be or not.
I had already planned to keep it simple...not a whole lot of decorating for this little guy. There were so many options I looked at, but wanted a color scheme that would grow with him....one that wasn't alot of work, and easy on the eyes. I didn't want the traditional baby blue nursery, but was not opposed to pulling in a little baby blue here and there....and I really wanted to make the bedding this time vs. spending a fortune on it.
I ended up with a navy, white and gray color scheme....and then decided green accents would make it look nice while keeping it masculine looking.
Here is what I came up with....

This is actually our bonus room....as you walk into the room this is what you see.

Some old cubbies I had in my oldest's closet....I slapped on a fresh coat of white semi-gloss paint....Looks good as new!

The bucket came off of my late grandmother's back porch. I'm sure you can buy one just like or similar at Lowe's but this one is special because it came from her....love having a piece of her in this room.

My husband is in the Army, so we had to have a touch of something Army in it....

This is one corner of the room...you'll notice several closet doors in this room. Our house was built with no attic space, so we closed in a wall a few years ago and put in closet doors so we could get to all of our storage....
The curtains you see where already hanging there, but were solid white, purchased at Target for $16 a panel. I sewed on navy blue fabric pieces for the stripes!!
The curtains you see where already hanging there, but were solid white, purchased at Target for $16 a panel. I sewed on navy blue fabric pieces for the stripes!!
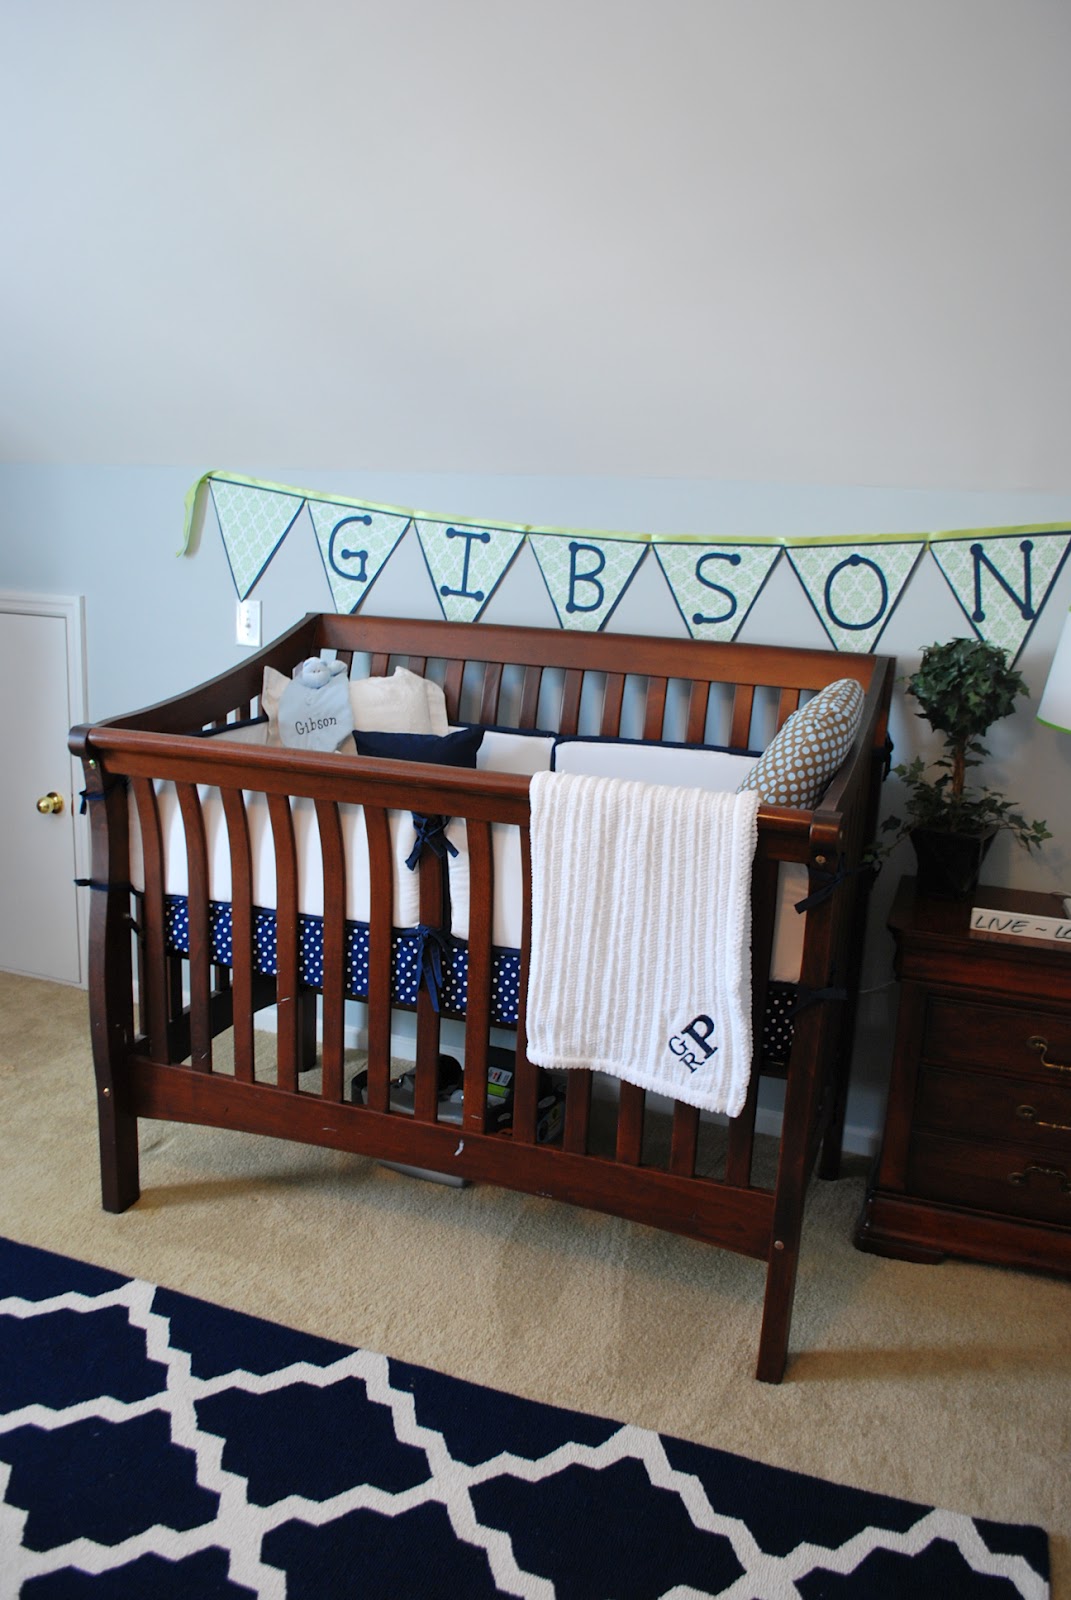
Here is the little guy's crib....the banner was made by my sister in law and hung up at my baby shower. It fits perfectly over his crib.

The crib furniture and twin bed you see were already ours...no new furniture purchased for this baby! Yay! We saved a lot of money by not having to purchase a crib!
I had 2 big purchases in this room. One was the rug you see...$150 on sale at Overstock.com...it was a $300+ rug, and I happened to be on the site one day when they had it on sale. I went online to find a coupon code that took another $20 off....and ended up with this rug for 50% off!!!! Awesome!

I made his bedding and kept it simple....White bumper pads with navy piping. On one end I monogrammed his initials. I found a tutorial on Pintrest on how to make a crib sheet, and made this one out of navy and white polka dotted fabric. I made a few pillows to put in here...(that obviously won't stay once he's in here,) but can be moved around and saved for a later time.

This little giraffe has been in both girls' rooms and now sits in his room, along with a cute little pair of shoes I got for $5...

My sister in law made this precious diaper cake...I couldn't bare to take it apart, so for now, it sits on the little desk by the window.

My other big expense were my glider cushions. My mom gave me this glider, and I love it. But it was covered in a girly print...so I paid $125 to have it recovered in navy fabric with white piping. I made the pillow and appliqued a "G: on it. Love the way it looks in the chair.
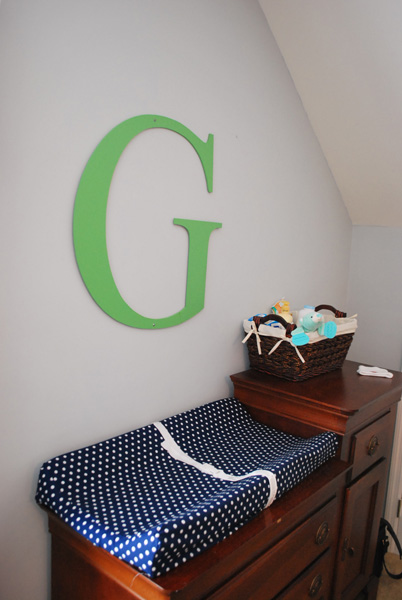
The "G' was made by my Dad...it's 2 ft tall and I painted it green to go with the room! Love having something hand crafted by my dad in his room!!! It looks great on this wall! I recovered the changing pad to match the crib sheet.

The lamp was already in the room, but the shade was purchased at Target.

I opted not to make a quilt for his crib. I never used the quilt with my girls...so I bought this pretty blanket at Target and monogrammed it with his initials.

Here is a view of the twin bed in his room....for you first time moms out there, an extra bed in the room is a must for those late night feedings.
We already had the bed and the spread. The navy "blanket" you see at the foot was actually a piece of scrap fabric I bought for $5 at a local fabric store. I sewed the edges up and draped it over the bed, making it look like an actual blanket!! Genius, I must say!! haha


I made the photos myself. I bought the images off of ETSY and had them printed up in 8x10's at Walgreens. The frames are $3 from Wal-Mart that I spray painted white. The mirror is also from Wal-Mart. It was $7 and black, so I put a few coats of white spray paint on it as well.


A small diaper bag I made using a placemat...

The little desk in front of the window was mine as a child. I spray painted it a shade of green last year and it just happened to match the room, so I didn't have to repaint it.
The tv in the room was given to us by our neighbor. He was throwing it out ( and it's in perfect condition). We took it and put it in the nursery for those late night feedings. I can sleep in the room with the baby and have a tv to watch....Nic At Night was my friend with my last 2 babies....I foresee lots of Friends, Full House, and Family Matters reruns in my future!!!

And this entire nursery is for this little guy right here!
This was him at 30 weeks....7 weeks ago....look how chubby his cheeks were then! They are estimating him to be 10 pounds!! We have a little chunk on the way!!!!
Can't wait to show him his new room...I"m sure he's going to notice it all.... ;-)
His delivery is set for April 10th....let's see if he waits that long to get here!!!
Early or not, his nursery is ready!!!!!!!


