I am so excited to get started on my deployment projects!! My blogging friend, Amy, gave me this idea for doing projects while the Major is deployed. I think it's going to keep me occupied & hopefully make the time go by faster! (Thanks for the idea, Amy!)
I am getting soooo close to finishing B's room....I can see the light at the end of the tunnel!
I am getting soooo close to finishing B's room....I can see the light at the end of the tunnel!
I can't remember where I saw it, but someone had done a scalloped look in their daughter's room.
I thought this was a little different than a chair rail or board and battan.... so I decided to give it a try.
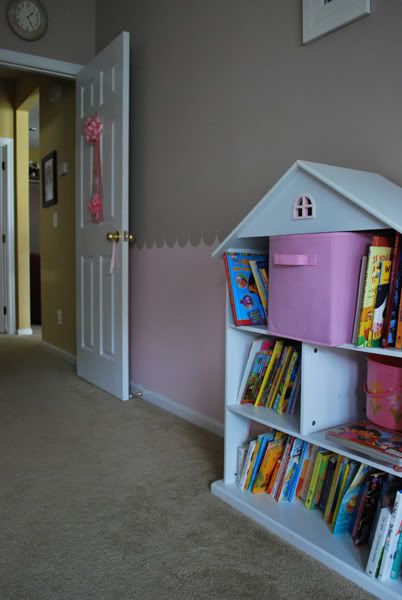
First, I took a level and drew a line all around the room. I chose to do this one at waist level since it would be flush with the bookshelves, but you could do it at any height.
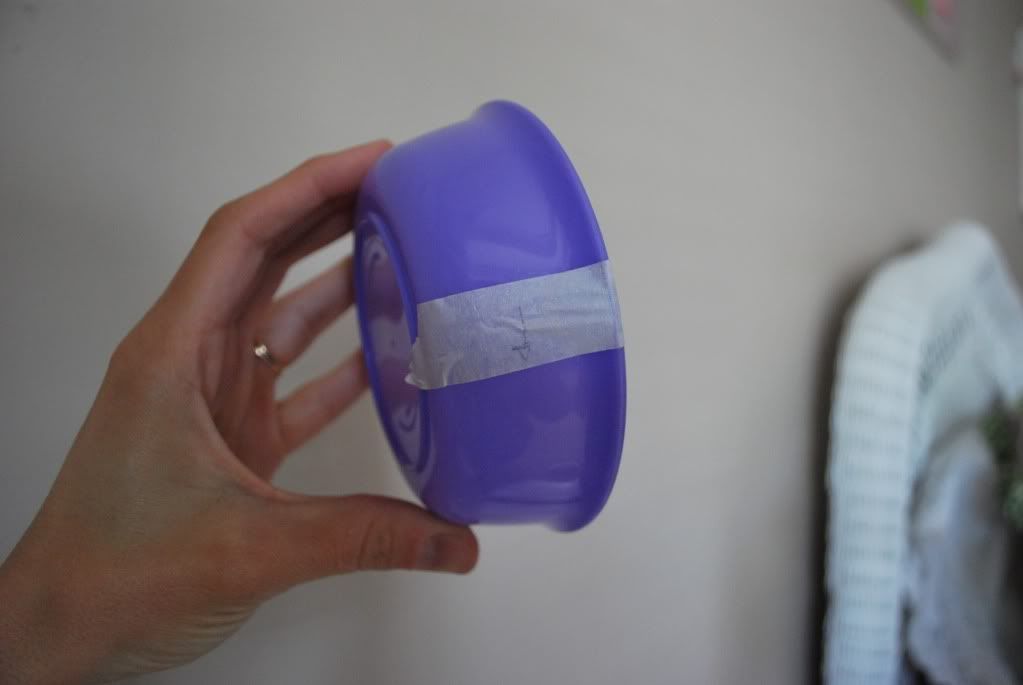
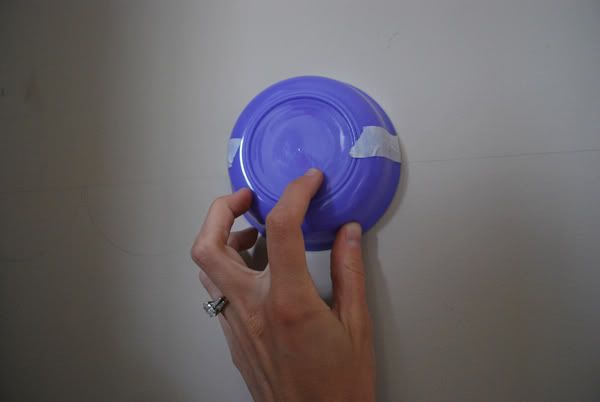
Next I took a bowl...but you can take a plate or any other round object that has the circumference you want....obviously, the larger the bowl, the larger the scallop...
I put a piece of tape around the bowl so I would know exactly how to measure each scallop.
Then I carefully traced half of the bowl all around the wall.
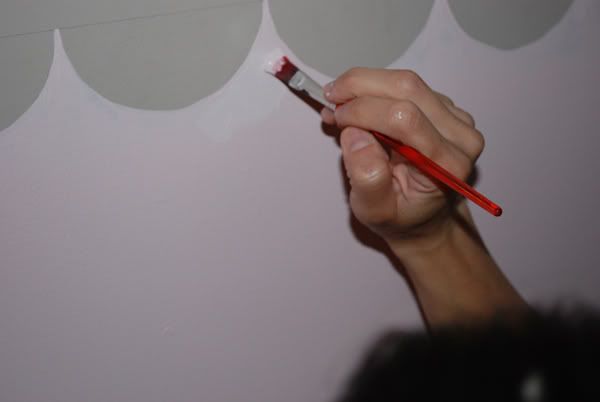
After that, I took 2 different sized paintbrushes and carefully handpainted each scallop....
Yes, my back is still hurting from sitting on my knees on the floor for several hours....but, oooh, so worth it!!
After applying 2 coats of paint with the small paintbrushes, I used a roller to paint the bottom part of the wall...I used 2 coats as well.
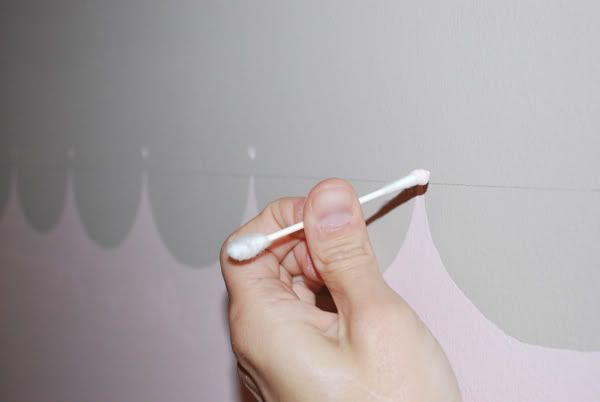
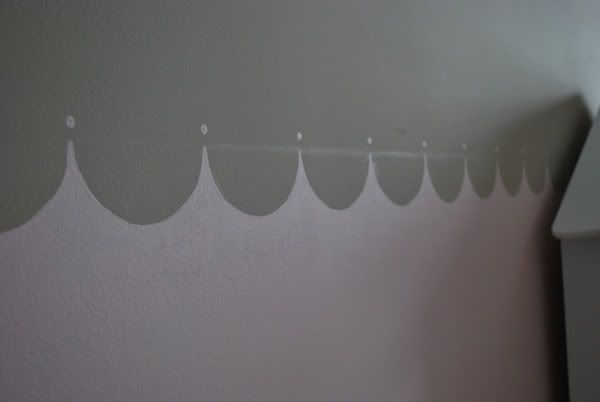
Lastly, I used a Q-Tip to make the small circles at the point of each scallops.
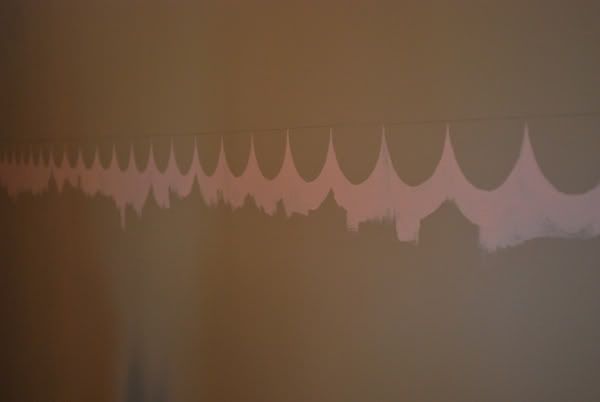
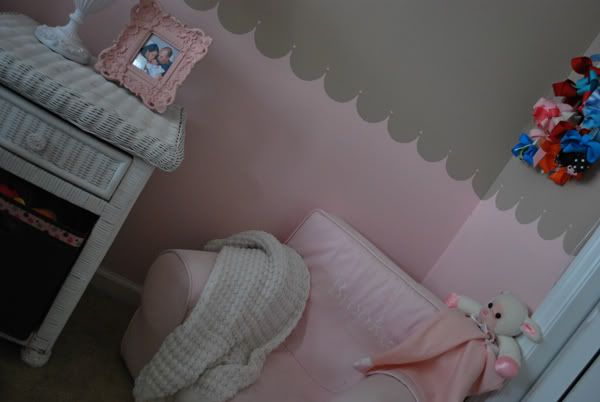
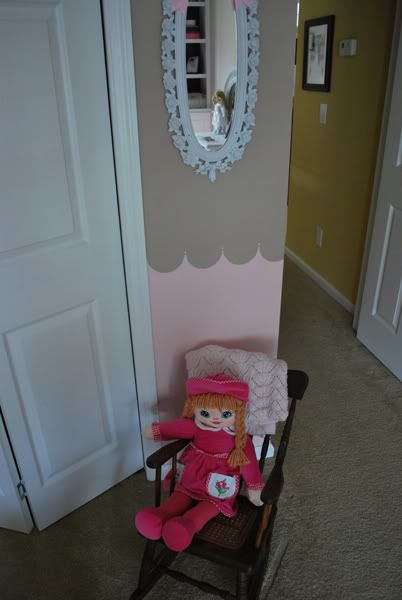
TaDa!!!! I'm finished!
I erased the pencil line I drew when I started, but for some reason you can see it in this picture....
I erased the pencil line I drew when I started, but for some reason you can see it in this picture....
I can't wait to show you the rest of the room....I am SOOOO close to finished!!!!! I just have a few more accessories to work on over the next week, and I can finally show you the entire room!
Stay tuned for the big reveal soon!!!!
HAPPY THURSDAY!!!!!


22 comments:
that looks adorable paige!!!! when can i come over and see it??? ;)
Oh so clever and so cute.
Thanks for sharing.
Happy Day
How totally cute!!! I never would have thought of the tape on the bowl. So cute!
Cutest thing ever!!! Love it! :)
That is the cutest room ever! If I still had a little girl, I would be tempted to try it. Great Job!
Oh wow, that is beautiful, I love the wee dots on top, they really finish it off!
Very sweet!
What an adorable room...a hint for future, use watercolor pencil. When you are finished is wipes off with a damp cloth.
Sandy
That is so CUTE!!! I love the colors, too.
That's cute, but not furniture :-/
On Mustard Seed blog she specifically states ONLY furniture on that Mr Linky... you might get deleted.
This is so very very cute!
Thanks for linking up!!
Adorable! I love it!
This turd out amazing. I love the two colors together too! You did an incredible job! Thanks for stopping by and joining the Sunday Showcase! I greatly appreciate it. Hope you have a wonderful week! ~ Stephanie Lynn
P.S. Special thanks to your husband for serving our country. We greatly appreciate it. and Thanks to you for supporting him. Keeping him in our prayers.
Hi Paige! Just wanted to let you know I'll be featuring your painted wall today. Stop by and grab a featured button if you like. Thanks so much for linking to the Sunday Showcase Party! I greatly appreciate it! ~ Stephanie Lynn
This turned out so great. It makes me want to repaint my girls' room!
That is the cutest thing I've seen in a long time, especially in a little girls room! My husband used to have to travel a lot and I always found that taking on a project like you have makes time pass a little faster. Good luck to all of you!
Very cute! I love how simple and pretty this is. The dot over the arches makes this.
I use bowls and plates for a stencil all the time. Very clever!
You are one of the most creative people I know!! Katie wants chocolate in her room, but I think it's too dark. I can now do the scallop bottom with chocolate, and paint the top pink. Oooh, I'm so excited to get started. Might do it while Carl is in Denmark for 2 weeks.
I adore this. I saw it on your other post - the room redo - and I don't know how I would've done it, but I would've complicated it, I'm sure. I love the bowl & Qtip. Ingenious!
Can't wait to try this!!! Thank you for the idea :)
Wow! Very sweet and beautiful. Awesome interior design of this room. You did great work and I think it is appreciated.
cheap kitchens
so adorable! what a tedious task. You made it so worth it though!!!
Post a Comment