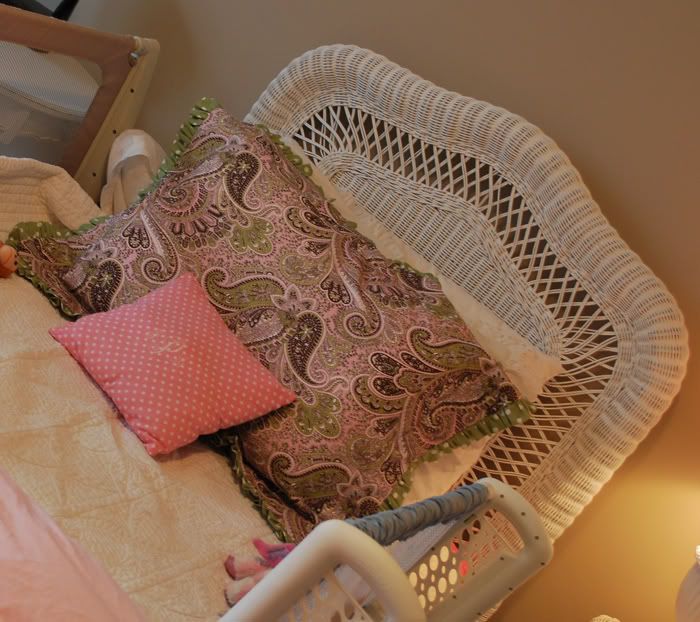
I made a new pillowsham for B's bedding last week. It's soooo much cheaper to make it than to buy it.
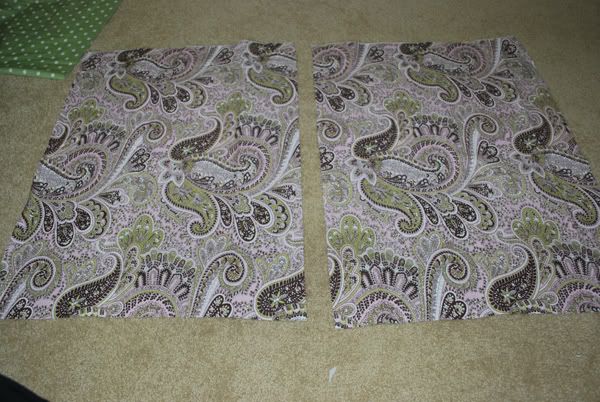
First, I cut 2 rectangular pieces of fabric.
One measured 31" L x 25" W
The other is 40" L x 25"W
If you want a ruffle on the edge of your sham, then you will also need a yard of a coordinating fabric, cut in 5" strips (that you will fold in half making a 2.5" ruffle around the sham). The number of strips depends on how tight you want the ruffle...tighter/fuller ruffles will take more fabric.....I believe I used about 5 or 6 strips.
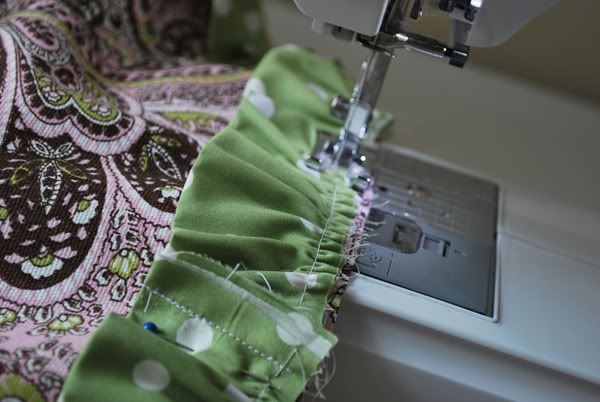
First you will make your fabric strips into ruffles. Fold your strips in half and iron them so you have a nice straight line to work with. You can make a ruffle by setting your sewing machine at the longest stitch and slowly sewing all the way down the length of the strip....the raw egde side, not the folded part. (sorry, no pictures of this) If you want the ruffle to be tighter you carefully pull on one string at the end of your strip, which will tighten the look of the ruffle. **Don't pull too hard, though**...or you will break the thread and have to start over. No fun.
Sew all of your strips together at ends, so that you have one big 2.5" strip that will go all the way around the sham.
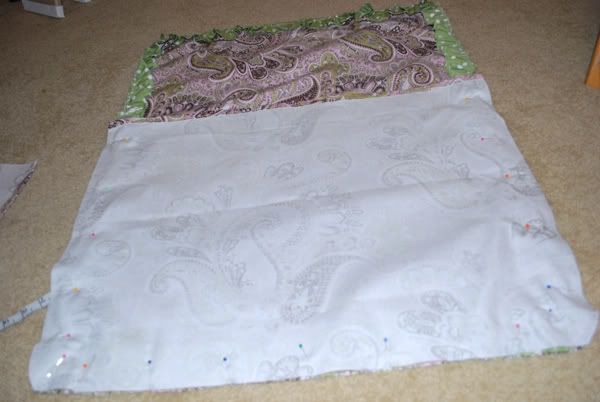
Next you want to pin the ruffle all the way around the shorter piece of fabric...the 31"x25" piece. Be sure to pin the ruffle pointing INWARD....I know, it looks funny, but once you sew your sham together and turn it inside out, it will look right, I promise!
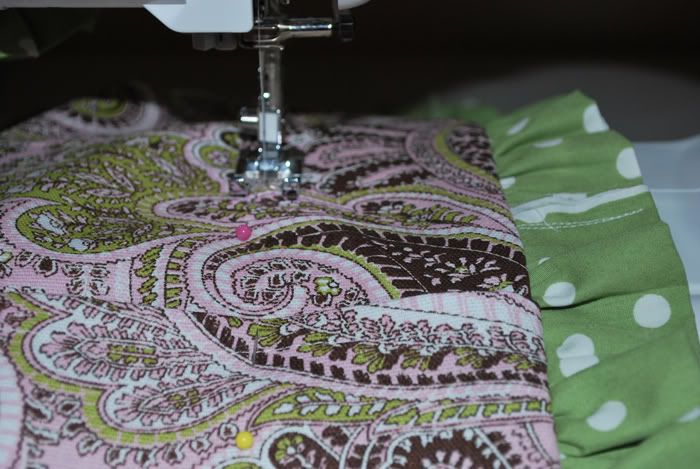
Once you have the ruffle pinned, sew your ruffle on the sham.
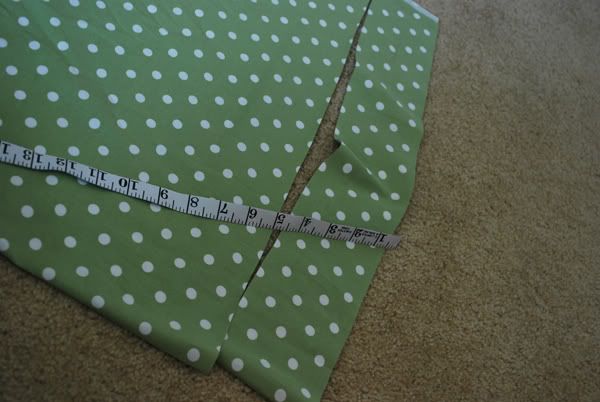
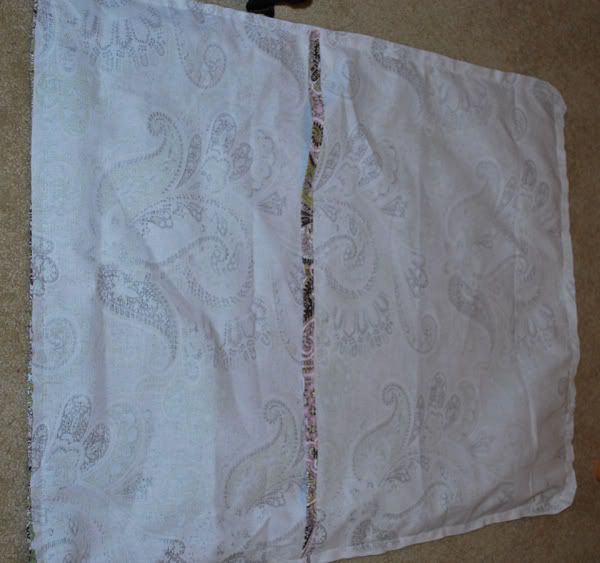
With the larger piece of fabric (40" x 25"), fold it in half and cut, so that you now have 2 pieces of fabric 20" long. This will end up being the back of your sham.
Where you cut it in half, fold in the edges and sew to cover the raw edges.
One at a time, pin and sew your 2 pieces, right sides together, onto the front of your pillowsham (the side you just sewed your ruffles on). Remember to put them on right sides together!!! The second piece you sew on will overlap the first piece.
Turn your sham inside out.
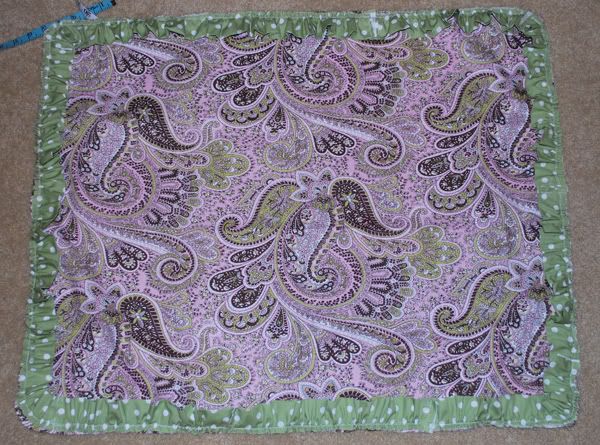
Measuring about 2" from the edge, sew all the way around your sham. This creates the "border" of the sham.
Press.
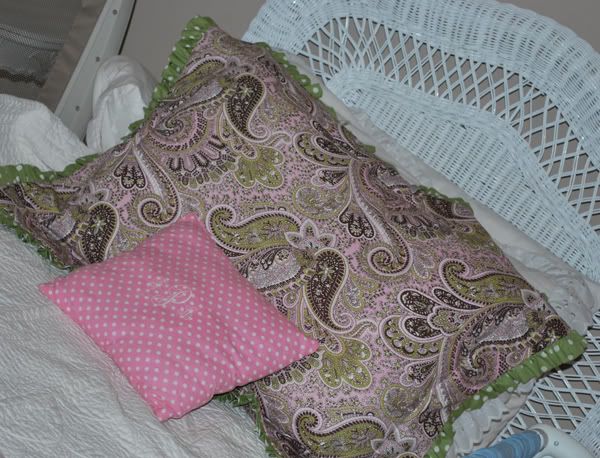
You're finished!
Insert pillow and enjoy your fancy-cheap-but-looks-expensive sham!!!!!!
Hoping to reveal B's room later this week, or this weekend.....stay tuned.....
Linking To...
Linking To...



16 comments:
My baby just moved into a big girl bed and I'm getting ready to make some pillows for her too. I love the colors you chose!
What a super cute pillow! Thanks for the tutorial and linking up to Be Inspired today.
Chelsea
Very cute and clever and the fabric combination is wonderful. Good job.
That is beautiful! I made my sons dinosaur pillowcase a few months ago and he loves it. When I throw it in the wash he comes running asking where it is! ;)
Thanks for linking up with Sugar & Spice.
Thanks for the inspiration!
How very pretty!
Thanks for joining Get Your Craft on Thursday at Life As Lori... Please join me next week for another great party!
Saw your craft on Somewhat Simple and had to come take a look. Very pretty! I am in love with the paisley fabric!
Such a beautiful pillow... and a great tutorial! The fabric is fun & fresh, great job!
You found some nice fabrics to use, good job.
Very sweet. I love the fabrics you picked!
Thanks for sharing at My Backyard Eden!
Very cute! I love the ruffle and the coordinating materials that you used!
hi! I'm visiting from t&j. thanks for the tutorial!
This is so cute & a great tutorial!
You should add it to the Sharing Time link up!
http://heathernow.blogspot.com/2010/05/sharing-time.html
Love your fabric choices, it turned out super cute!
Gorgeous fabrics! I love the colors. Great tutorial - fabulous job! Thanks so much for joining The Sunday Showcase Party. I greatly appreciate it! ~ Stephanie Lynn
Very cute sham for a girls room! Nicely done tutorial!
Thanks for linking up at www.simplydesigning.blogspot.com
Post a Comment