I have been working on Brooke's new BIG GIRL room, and have so many ideas in my head I want to do in there...so it's a long way from finished. I can't wait to show you pics of the finished room...soon, hopefully!
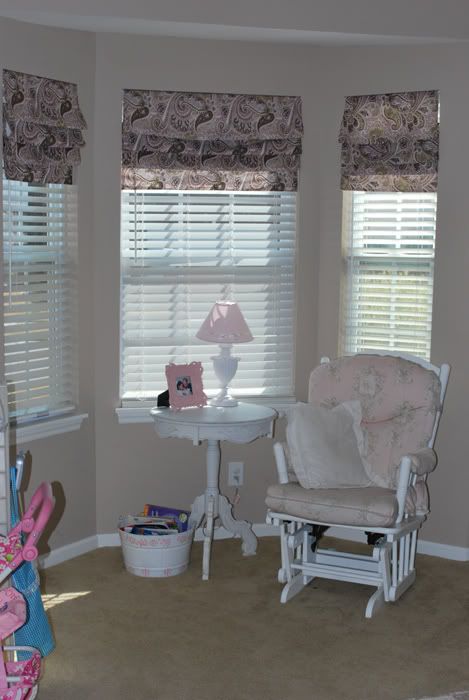
One of the first things I wanted to do was figure out how to make window treatments for the bay window in her room. Drapes were out of the question....if you know my 3 year old, you know that drapes would be an open invitation to use them as a swinging vine....so no drapes.
And no window treatments mounted on boards because there's not enough wall space with bay windows to put up the boards....
That's when I came across my hero, Sarah's, blog about how to make "no sew" roman shades. Click HERE to read all about how she did hers.
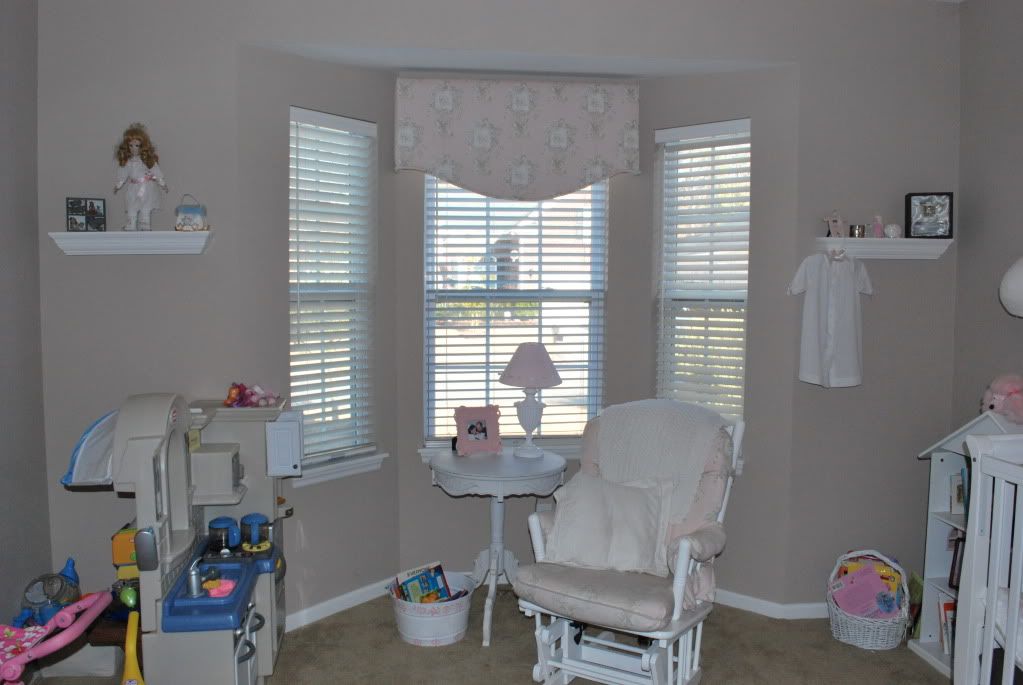
Before, I just had this one window treatment, because I didn't know what else to do....
That was before I found Sarah's blog, and she saved my life showed me how to make the roman shades.
I won't go into tons of details since you can read them on her blog....
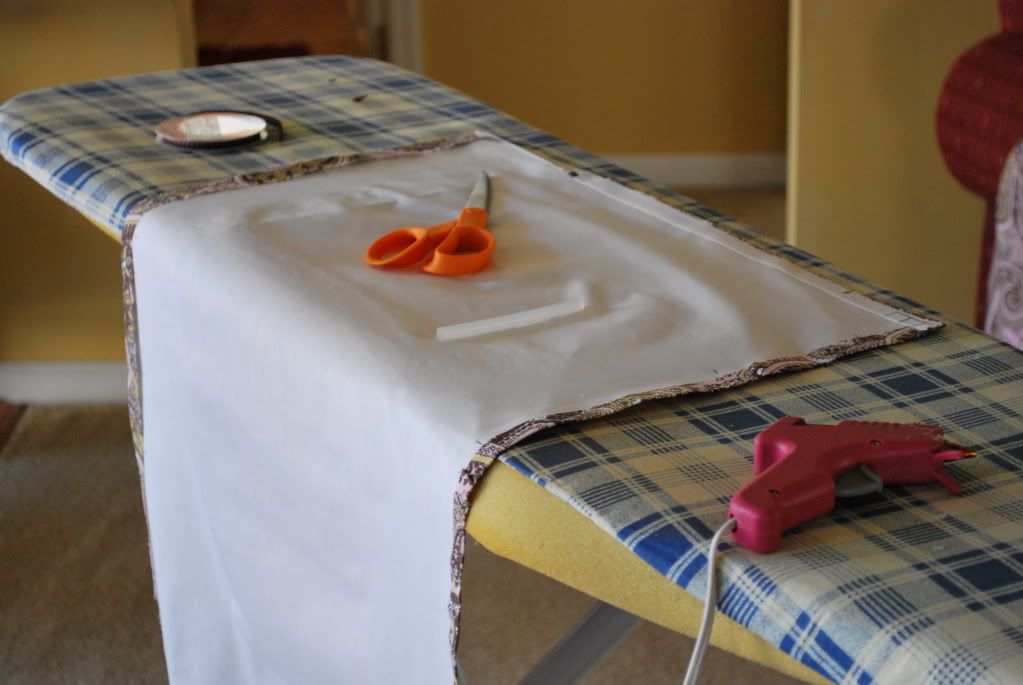
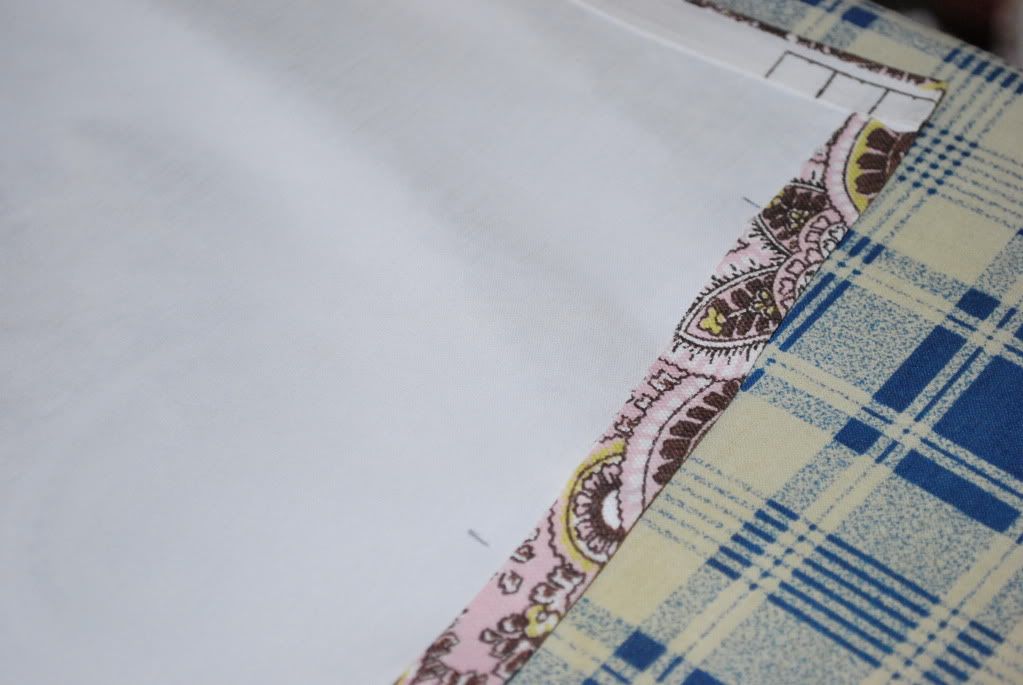
But, all you need to do is measure the inside of your windows, cut the fabric about 3/4in. larger than the window all the way around. Grab your fabric glue tape, fold the fabric and iron. It's extremly simple! Just rememebr to make a pocket at the top for the rod you will slip through it in the end.
Simply fold over and iron with the fabric tape..or in my case, I ended up using some hot glue...
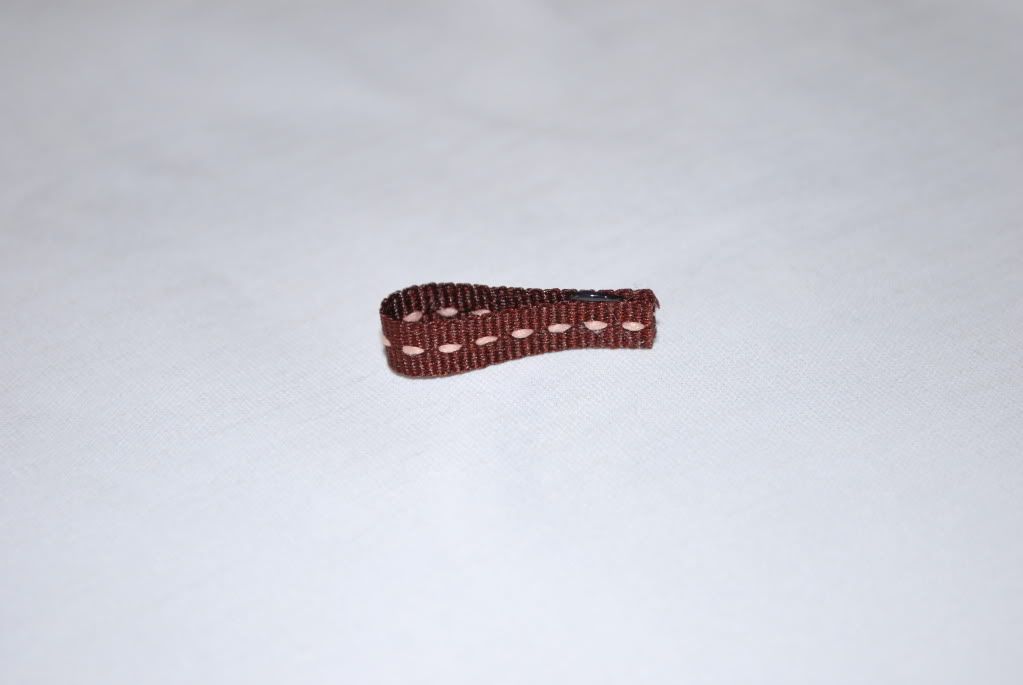
I also cut ribbon, about 2 inches long...glued them together like you see...and then glued them on the insides of the shades. These are your "hooks" for hanging the shades.
**note** I lined my shades, but you don't have to.
At the top inside of each window I screwed in 2 small cup hooks on each side. You can get these at any craft store. (sorry, I don't have a pictures of it)
I bought some inexpensive tension rods from Lowe's (the ones that have springs, not the ones you mount...although you can get either).....
I inserted the rods in the top pockets and hung them in the window! EASY-PEASY!
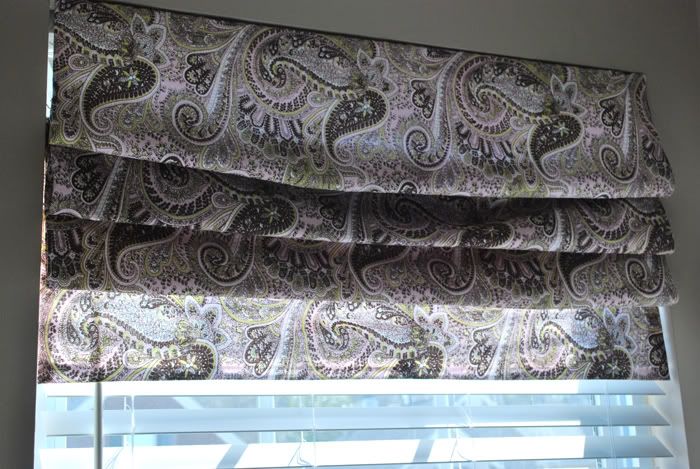
Once you have the tension rod mounted, you can play with the hooks on the inside to hang them as long or short as you like them.....and you can create as many "folds" as you want....
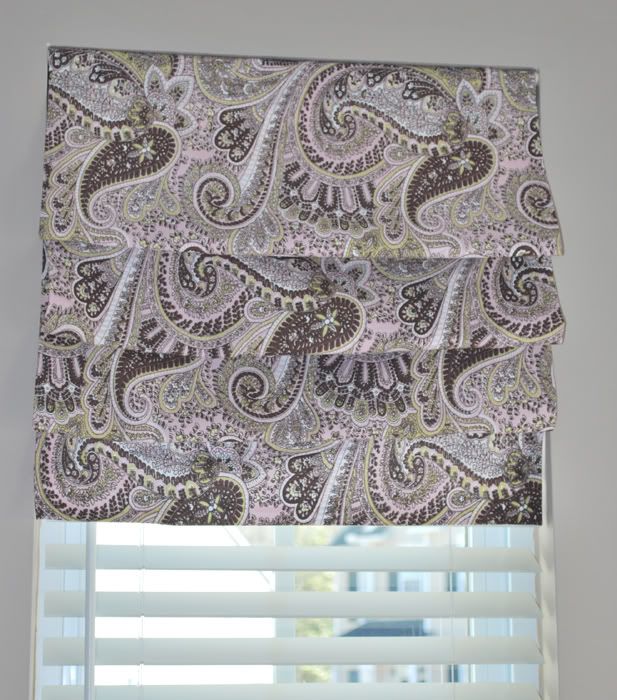
Here's the finished window!
Now this space looks totally different because I just had shelves built in....more pics on that later...
Can't wait to show you more!



11 comments:
SHUT UP!!!
Those look like the real thing!
Awesome, Paige!!
I'm going to do some for my bathroom! Thanks for sharing!
OMG, when in the next PRICE traveling home show? You know I can't do that but man I sure wish I could....looks easy! Those look AWESOME!!
Hold on while I pick my chin up off the floor....WOWWWWWW! These look SO great! And NO SEW..that makes the PERFECT for some one like me! (I can sew just HATE it haha) Thanks for linking up to Anything Related!
~Bridgette
Wow these look great!!
I would love it if you joined my "Saturday is Crafty Day" party on April 24th! Stop by my blog for details.
WOW!!!! I love the transformation! I have a set of FOUR bay windows and recently came to the conclusion that I needed Roman Shades :)
I'll be bookmarking this blog post :)
these look amazing!! you did a fantastic job, thanks for sharing:)
these are absolutely amazingly gorgeous! Looks so simple! Thanks for sharing!
Those look amazingly expensive. How cool that you made them! I have a couple of windows that I just can't figure out what to do with. I may give them a try!
Thanks for linking up to Make it Yours Day! Enjoy the rest of your weekend!
Lovely. I want to make something similar for my bathroom. Thanks for the inspiration.
These look amazing! You did a fabulous job and I love the fabric! Can't wait to see more!
Thanks so much for joining the Sunday Showcase! Hope you have a great week! ~ Stephanie Lynn
Love the fabric and the look of the new shades. Great job. I am new to the whole sewing thing and love how you used the fabric tape/glue. It's my new best friend.
Post a Comment