I have missed sewing and creating things this summer....
Life is crazy entertaining 2 kids while the hubby is deployed..(kudos to you single mothers out there who do this on a regular basis!)
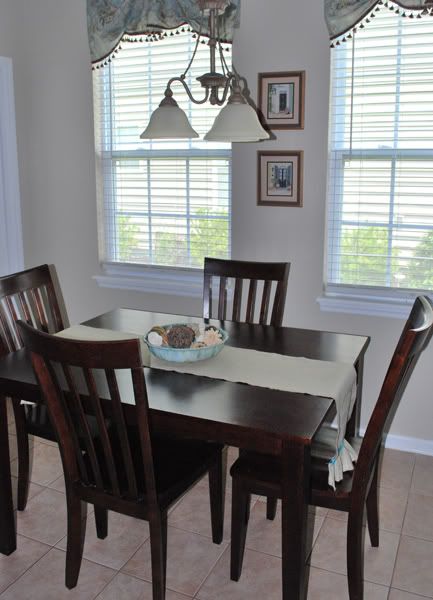
But I carved about 45 minutes out of the day recently to make a burlap table runner...
Sooooo extremely simple and fast....
Although I don't have any step by step pics, I can tell you how I did this....
1. Measure the length of your table...add 20 inches to the length (this is so you have some to hang off each side when you are finished)
2. Decide how wide you want your runner....Mine is 12 inches wide. You can make yours as wide or narrow as you want. Cut out your burlap according to your length and width measuremtns)
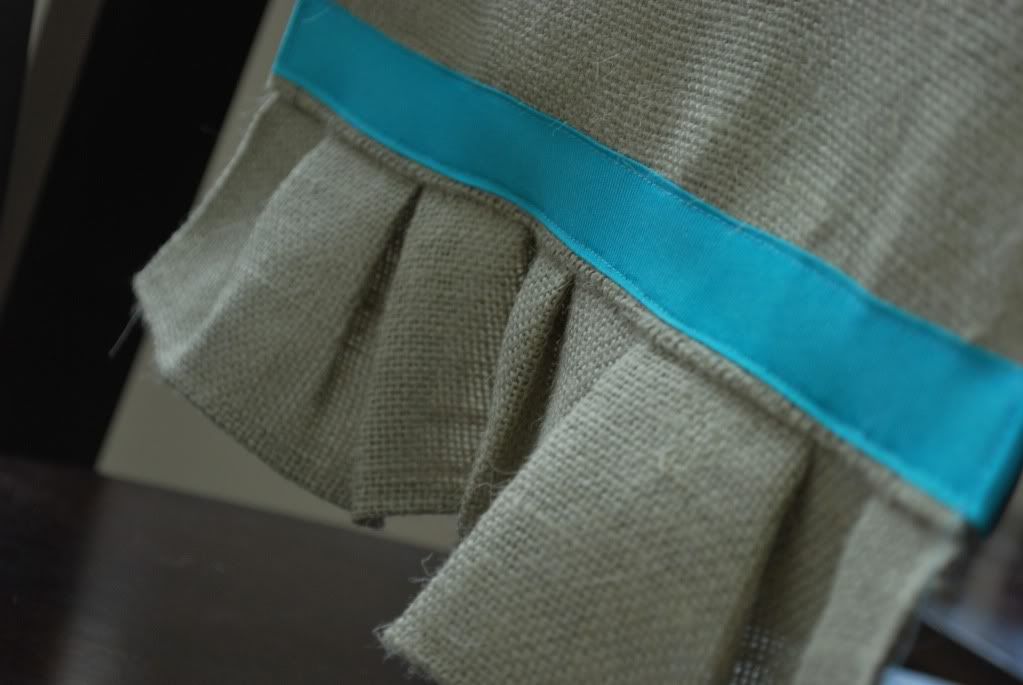
3. You will also need two 3.5" x 30" strips for your ruffles.
.
4. With a chocolate thread, I stitched all the way around the table runner with a 5/8" stitch, just to give it a little more character.
5. For the 2 strips, I did fold one end under and stitch to make clean edges.
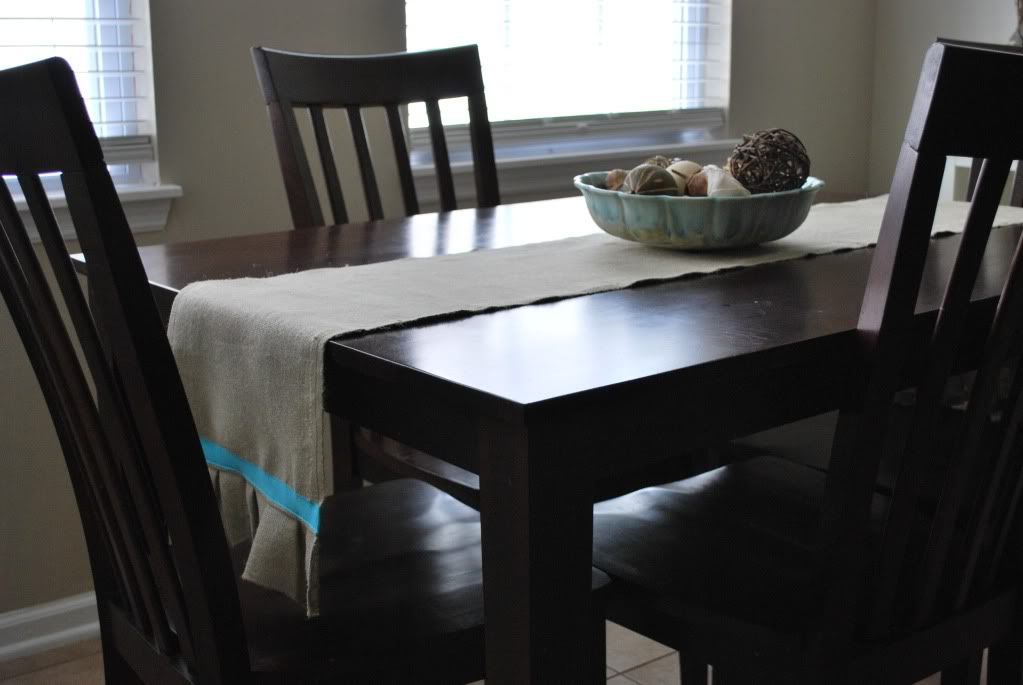
6. With right sides together and the strip upside down, sew the two together, folding as you go to create the ruffle. Do this on the oppsite end as well.
7. Fold down and press.
8. I decided to add a little color by sewing on a strip of aqua ribbon on the ends, but this is optional...
9. I also took some "No Fray" and put it on every edge of the runner to avoid fraying.
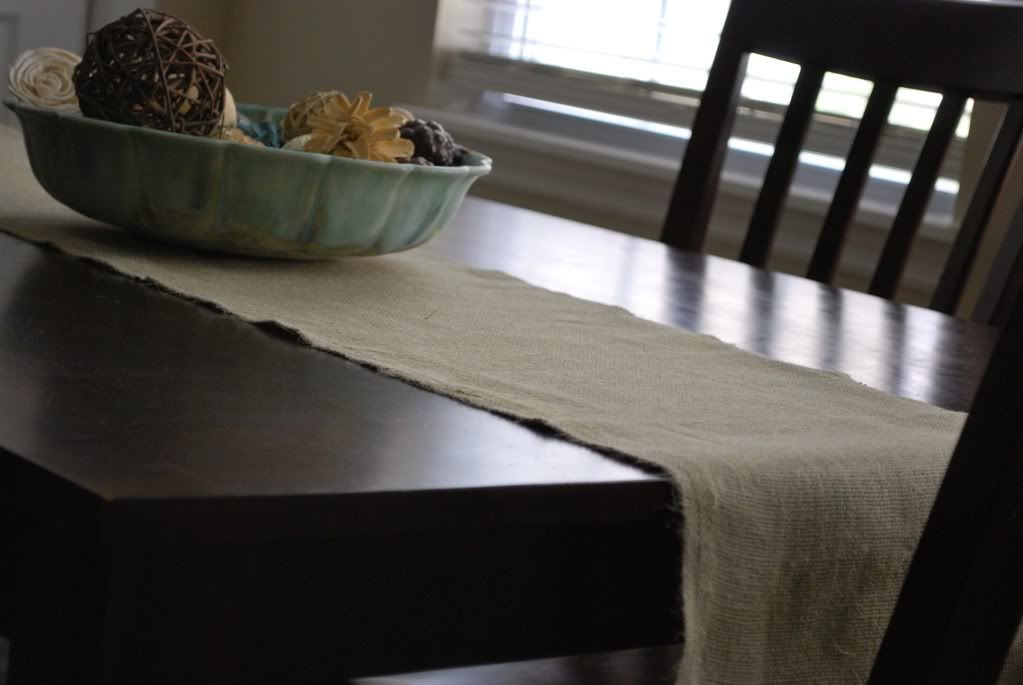
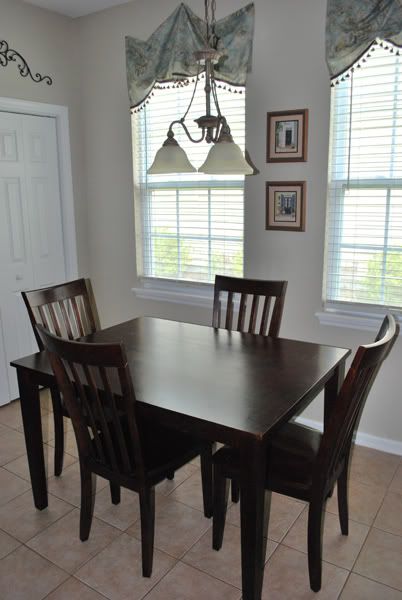
Sooooo, here is my boring table BEFORE...
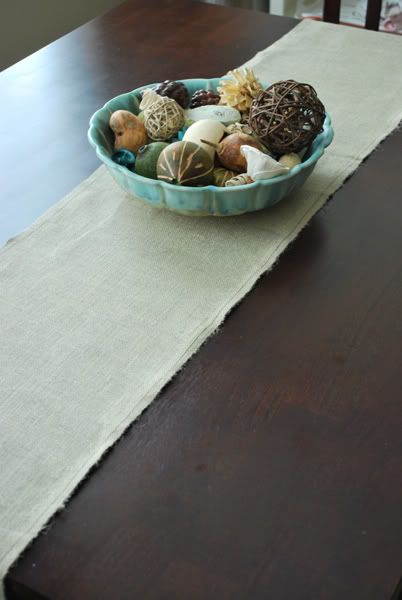
.....and here it is AFTER.....
The bowl on the table is one I already had....
It's amazing what just a little decor can do...and this didn't even cost me a penny since I used stuff I already had!!!
Happy Sunday!
Come back tomorrow...I'm sharing pictures of the deployment ceremony!


9 comments:
This is so cute Paige! I love it and it really makes a big difference. I just love burlap :)
Too cute! Love the choice of burlap fabric and the ruffles are adorable.
God bless your husband for his service to our country. Please thank him for me and my family. We appreciate what he is doing very, very much. Every time I read your blog, I promise to pray for him.
Renie
Tijeras, NM
PS Love your blog and all your creativity.
That really adds a lot to your table. Love the ruffle and trim on the ends. Thanks for sharing!
SO rustic and SO perfect! Now I want one!!!
Cute project - I love the ruffles at the bottom! And the aqua!
Ruffles, ruffles, pretty one!
Hugs
Charo
How cute! I think I could manage sewing that.
Cute! It turned out really nice! My husband and I were apart for 9 month 2 years ago, it was really tough! Good luck, and I hope he's not gone too long! I just started a link party and I would LOVE it if you'd consider adding your crafts to it! I'm having flower headband giveaway as part of our first party too! http://imtopsyturvy.com/index.php/2010/07/topsy-turvy-tuesdays-1/
Post a Comment